This past weekend I spent three days using the Zeal HD2 goggles. These goggles have a built-in action camera in the upper edge of them, making them potentially perfect for recording your slope adventures. It includes both photo and video capabilities, as well as WiFi connectivity for integration with their phone apps to quickly post your moves. But…how well does it work?
For that, I used the unit each day until battery completion. And while I typically like to pound a device a wee bit more than a single ski trip, I feel like I’ve got a pretty good grip on things. Both what worked really well, as well as what totally sucked.
Lastly, at the end of the day keep in mind I’m just like any other regular athlete out there. I write these reviews because I’m inherently a curious person with a technology background, and thus I try and be as complete as I can. But, if I’ve missed something or if you spot something that doesn’t quite jive – just let me know and I’ll be happy to get it all sorted out. Also, because the technology world constantly changes, I try and go back and update these reviews as new features and functionality are added – or if bugs are fixed. So – with that intro, let’s get into things.
Unboxing:
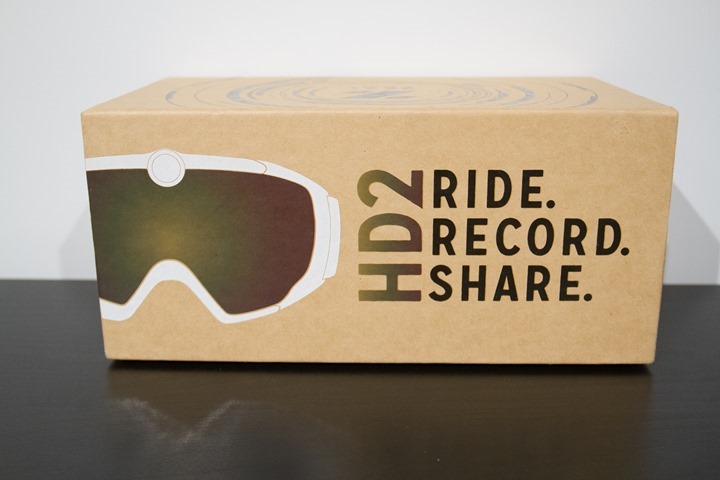
To begin, the Zeal goggles are found within a simple brown box, shaped like just about every other goggle box on the planet.
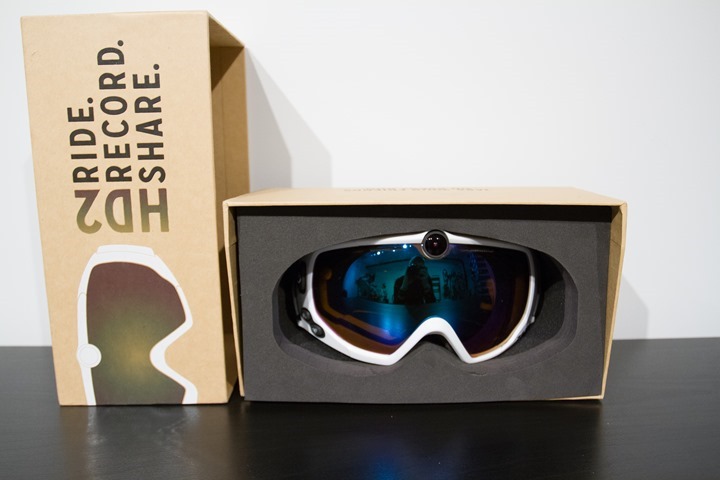
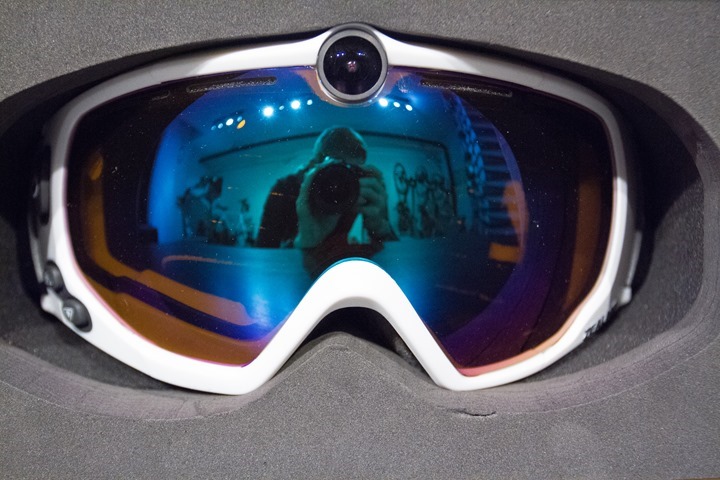
After you seductively remove the box cover, you’ll find the unit sitting well protected inside a foam insert:
You’ll also find a reflection of yourself in the goggle. It’s impossible to not find yourself in the reflection of the goggles.
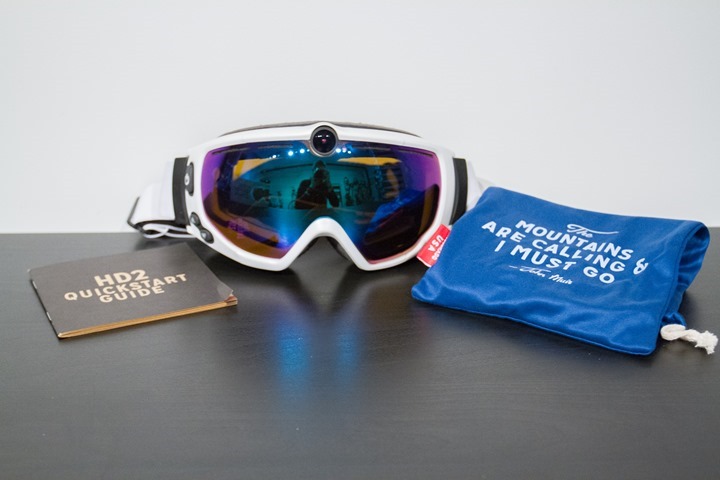
If we go ahead and remove the goggles you’ll find three major items in the bag. To the left, a quick start guide. In the middle the goggles (and me again), and then to the right a bag of goodies.
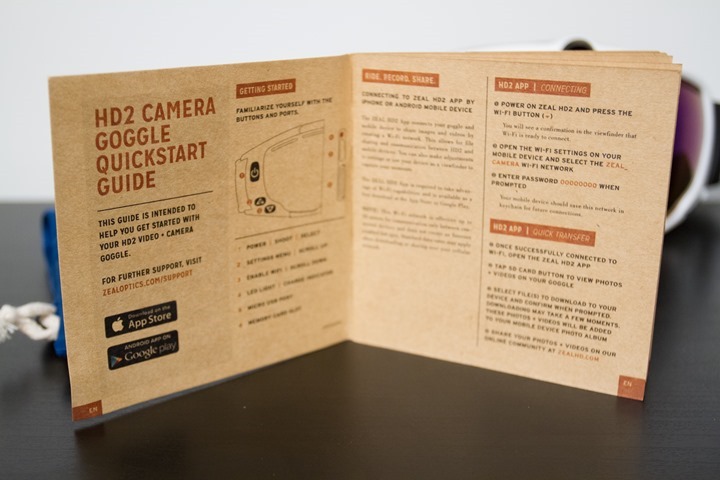
Despite being a quick start guide, it pretty much covers all you need to know about the goggles. There isn’t much else not covered in it.
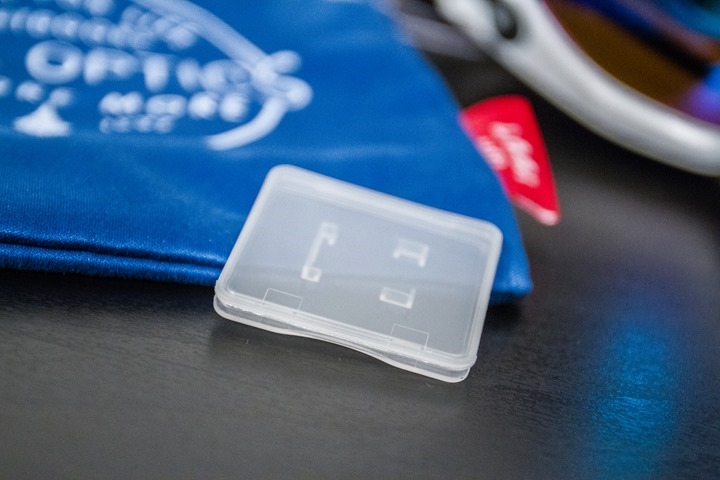
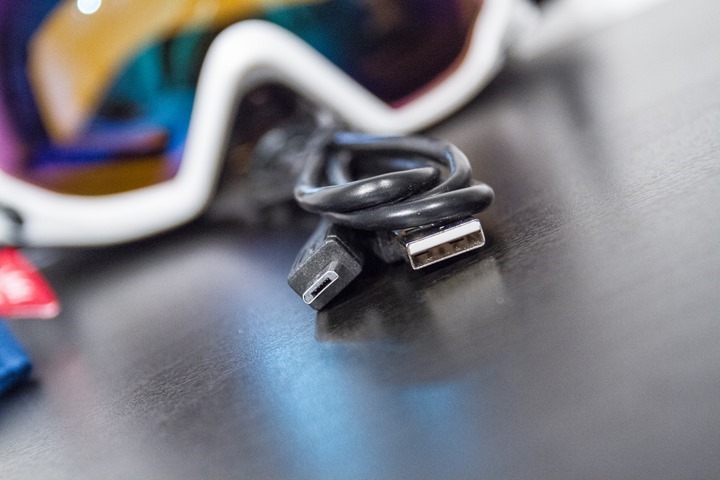
Next, the bag contains a micro-SD card holder (the micro-SD card is already in the camera). It also contains a micro-USB cable for charging. And of course, the bag doubles as protected passage for your goggles during travel.
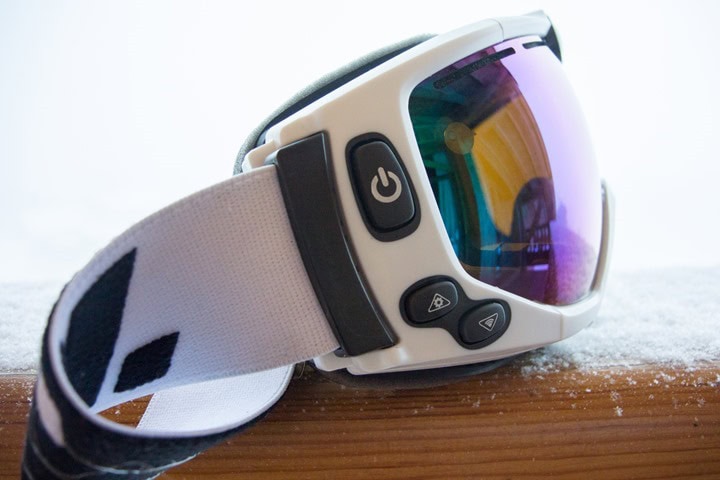
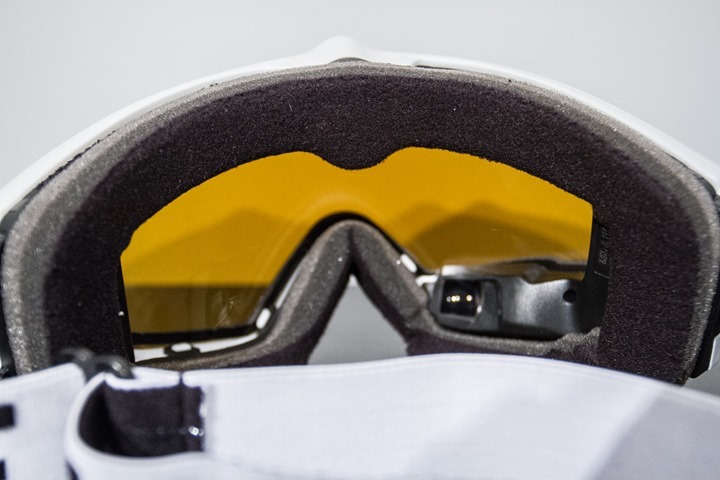
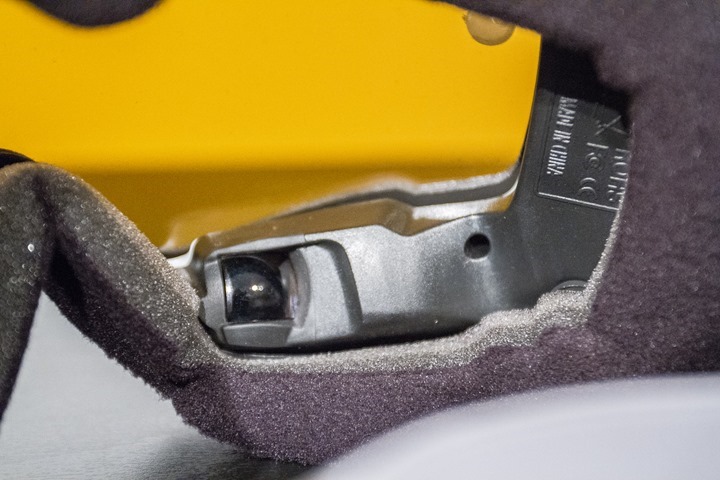
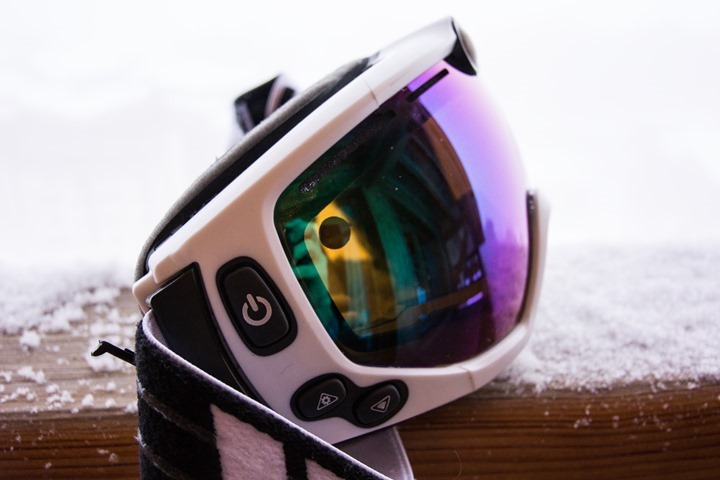
Finally, we’ve got the goggles themselves. From your side of the goggles you can see that that have a small LCD screen in the lower right corner (more on that in a second). But otherwise they look fairly normal.
This screen provides you with a preview of the video, as well as allows you to see information such as camera mode and battery status.
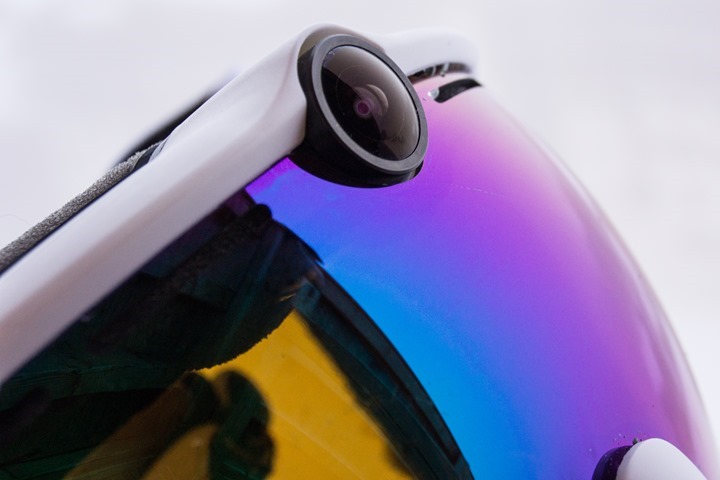
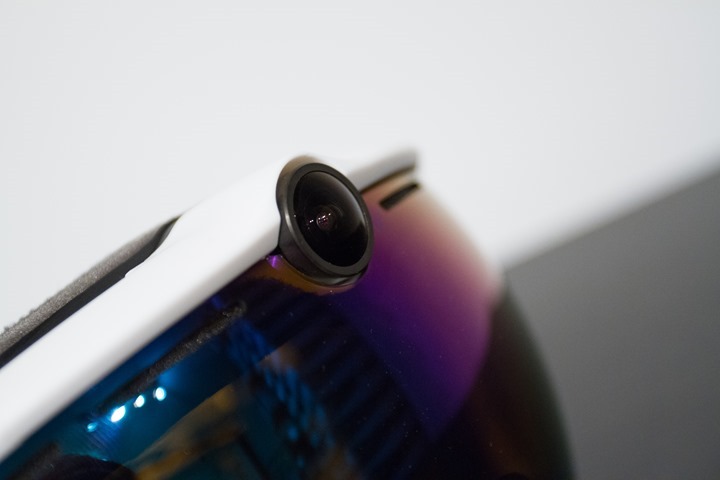
Meanwhile on the front of the goggles you’ll find the small camera lens. It’s fairly discrete and doesn’t stick out too much.
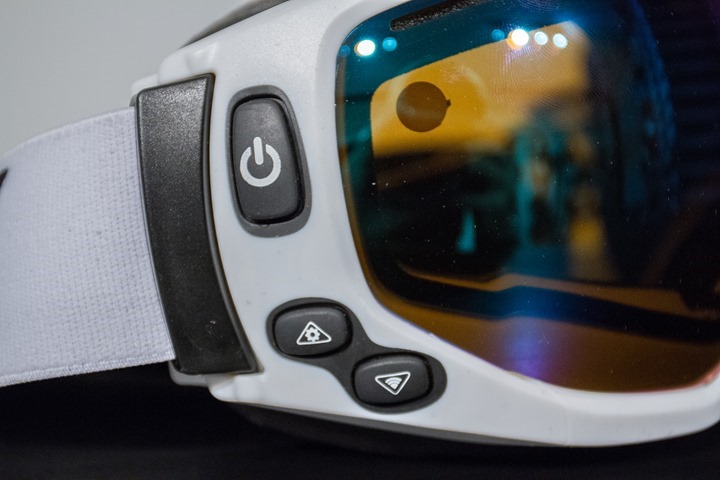
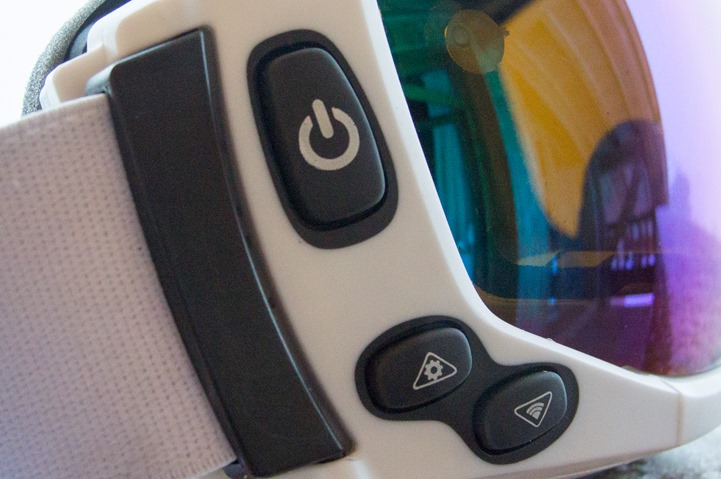
And then finally, along the right side of the goggles you’ve got three buttons. Power, settings, and WiFi. I’ll dive into that more in later sections.
The band of the goggles is adjustable, and easily extended to fit around both my helmet, as well as shrunk to fit around The Girl’s smaller noggin without any helmet. So no problems there.
The lens is not interchangeable however, so that is something to consider, especially if you do a lot of night skiing – or conditions that you may want a clear lens.
The Basics:
To use the unit, you’ll turn it on via the biggest of the three buttons on the side. This powers it on and then after briefly displaying the logo screen it brings you to the basic preview and recording screen. It’s here that it’ll show your current recording settings (such as frame rates) as well as how much recording time it has left on the micro-SD card. This is all shown within the tiny little screen in the right corner of the unit. While it’s impossibly hard to take a photo of, it sorta just ‘floats’ in your vision along the bottom.
The screen isn’t adjustable however, so it can be a bit finicky to find the right spot to float. In some cases it was a bit out of skew for me, as well as for The Girl. I suppose it wasn’t too big an issue since I would only briefly look at the screen when starting/stopping and changing settings – so adjusting the goggle slightly with my hand to line things up was fine.
Next on the front of the goggle there are two additional buttons – a WiFi button and a Settings button. I’ll cover the WiFi button in the Mobile App section. But the settings button brings open the menu where you can change a handful of settings. This includes the ability to go from Photo to Video modes, as well as to control the photo/video resolution.
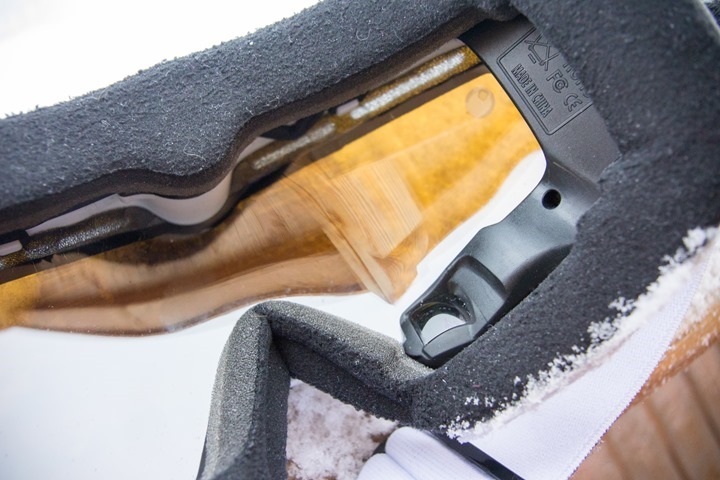
Next, on the right side of the unit is the micro-USB port to charge the unit, as well as the micro-SD card slot for recording your photos and videos. It comes with an 8GB micro-SD card, but you can easily quadruple that on your own for about $12-15US.
As you can see, on the whole it’s a fairly simple unit from a buttons and functions standpoint. This isn’t flying the space shuttle, it’s more like a moped.
Now, what I described above on basic operation of the unit is how it’s supposed to work. But the challenge for me is that it rarely actually worked as well as I described.
In practice, approximately 60-75% of the time the unit would freeze on the logo screen when I turned it on. If it didn’t freeze then, then it would freeze as soon as the logo screen disappeared – giving me a paused view of whatever I was looking at. I’d have to use the dedicated reset button to get it back out of trouble and try powering it on again. In general, third time was the charm in almost every occasion. I got good at doing the reset dance. Perhaps the mere fact that it has a dedicated reset button is cause for pause. To me that implies it must be such a frequent occurrence that a more standard “press buttons X + Y in the following pattern to reset” type of arrangement would not be practical. Or…perhaps I just got a one-off lemon.
Note that you can update the firmware via the Zeal website. It only takes a few minutes to complete and is pretty easy. I updated my unit to the most recent firmware before taking my first run this past weekend.
Video Functions:
The HD2 includes a handful of basic video modes. Think of it like the GoPro of a few years ago and you’ll be in the right mindset. To start you’ll press the settings button to access the main menu. From there you can press down once to change between video and photo. By default, it’ll be video every time you start up the goggles (regardless of what setting you were on last).
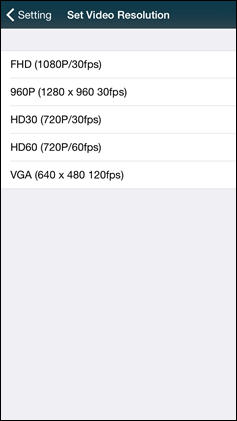
Below that option is the video resolution option. Here is where you can tweak which resolution the HD2 uses. It offers the following:
Video Resolutions & Frame Rates:
1080p/30fps
960p/30fps
720p/60fps
720p/30fps
VGA/120fps
By default it’ll be in 720p/60fps, which is appropriate for skiing given that has a lot of fast moving action.
In addition to the video resolutions, there are also three color/lighting modes (called ‘Scene Modes’), which control the lighting options within the unit. These are ‘Auto’, ‘Sunny’, and ‘Low Light’. In my case, I just left it on Auto and it seemed to switch seamlessly back and forth (as you’ll see in my second video below).
Finally, when it comes to video options, you can also playback the videos you’ve captured already on the unit. This is handy if you want to quickly check something but don’t want to drag out your phone. For this you’ll simply select the ‘Instant Playback’ menu option. From here you can scroll through the different recorded videos and photos and either display the photos or playback the videos.
During the regular preview screen while in normal operation, the video mode and estimated recording time (of the Micro-SD card) will be listed at the top of the screen. It’ll also clear away much the status information when actually recording. By default the little LCD screen will stay on, but you can configure it to automatically save battery and go into a standby mode.
Now, it’s a bit tough to show you the menu options, as the display is roughly the size of the tip of your finger and with the glass it’s super tricky to photograph. So instead, I’ll show you the end resultant. In other words, the actual videos I captured.
First up is a zip line that I took while skiing. Yes, I know, it’s confusing. Just read this post for the backstory. I’m using this because I can easily show you the same exact route captured on two different cameras – just 2-3 minutes apart. It allows you to see how crisp the video quality is. First up, the video from the HD2 (worn by The Girl):

On the whole, it’s pretty good. Most would say perfectly acceptable. It captured the ‘moment’ really well. Which is one of the things I like about the HD2. It may not have the highest quality, but it does make it super easy to get the right moment from your perspective.
Next, here’s the same zip-line section captured by a GoPro Hero4 Black, mounted to my helmet:

As you can see – it’s much crisper. The lights/whites are overexposed like they are a bit in the HD2, and of course it’s far crisper (mostly because it was captured at 4K). While perhaps not an entirely fair comparison – it is a comparison many will be making when choosing between something of roughly equal pricing. On the downside, with the Hero4, you can’t hear me as well since it’s further away from my mouth (the Hero4 was in a skeleton case, so basically no case at all).
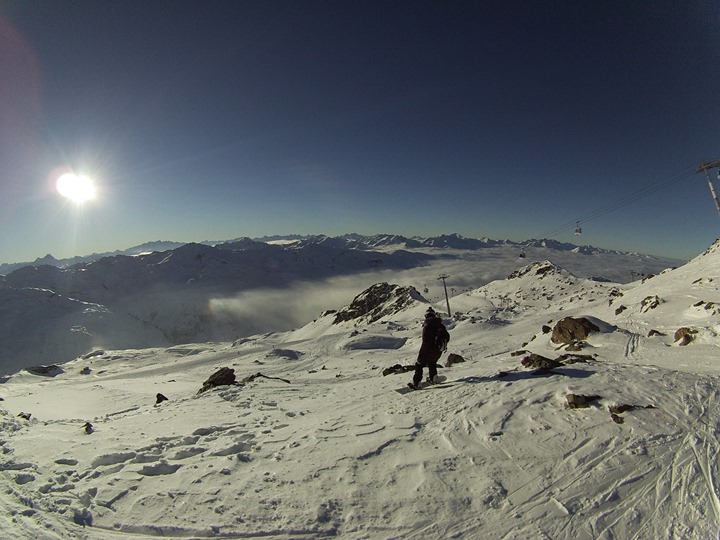
Next, let’s look at some raw skiing. Here’s a clip a friend and I did off the top of a mountain. Note that while it seems to struggle a bit with the picture quality of the wind blowing over the ridge line, it’s overall a pretty good capture. We go from bright light at the top of the lift, to the shadows a bit a few seconds later once getting past the rock patch. The auto lighting on the camera handles it well.

Finally, we’ll look at another snippet, this just from skiing down a random run. In this case I just wander along a groomed run filming The Girl before picking up speed. My ultimate speed was about 55MPH(88kph). As you can see, the stability of the video is actually pretty good (or said differently: I often see pretty ugly videos from some devices, this is on the better side). It’s not quite as crisp as a GoPro Hero4, but it’s likely perfectly fine for most. The other thing that you do however notice is that unit overexposes a bit, causing some over-brightness in the video.

Note that if you were to go to 1080p/30fps, you’d get higher resolution (though at reduced frame rates) – these were shot at 720p/60fps.
Overall, from a video side the unit produces perfectly functional quality. It does have limited options, but those options do give you a fair bit of flexibility for the ‘standard’ modes that are most common today. Where you lack is some of the higher frame rates modes (i.e. 240fps) found on newer GoPro units.
Photo Functions:
Next up the unit includes a photo function. In many ways I actually found this to be my favorite feature on the camera, in particular in the interval mode. But, let’s not get ahead of ourselves.
When turning on the unit, in order to get to the photo mode you’ll need to go into the settings and switch it from the default of Video to Photo. This configuration change isn’t ever saved, so you will need to do it each time.
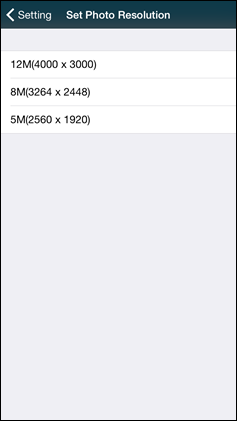
Within the photo section you’ve got a few options. First up is to change the resolution, which supports the following: 5MP, 8MP, 12MP (megapixels).
Next, you can change the photo mode, which are as follows:
Single Photo: Exactly as it sounds, just one photo when you press the button.
Sequence Photo: 2-10 photos shot in a burst (you can select any value between 2-10)
Time lapse Photo: Automatically takes photos every X seconds. Can choose 2s, 5s, 10s, 30 seconds as value.
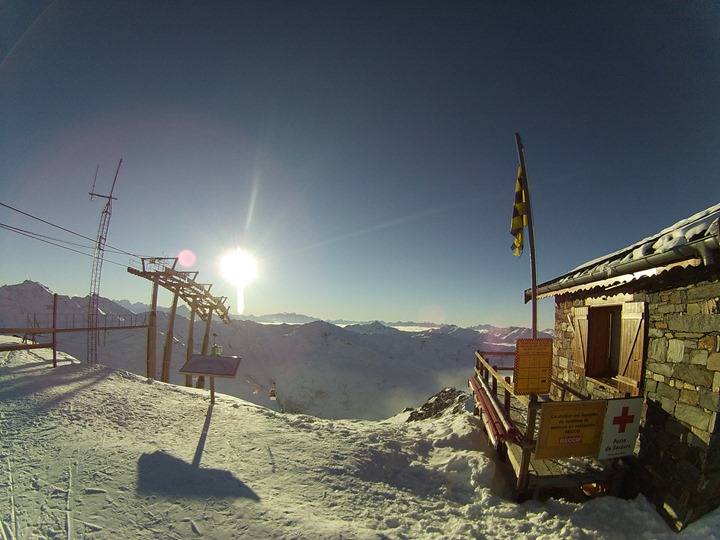
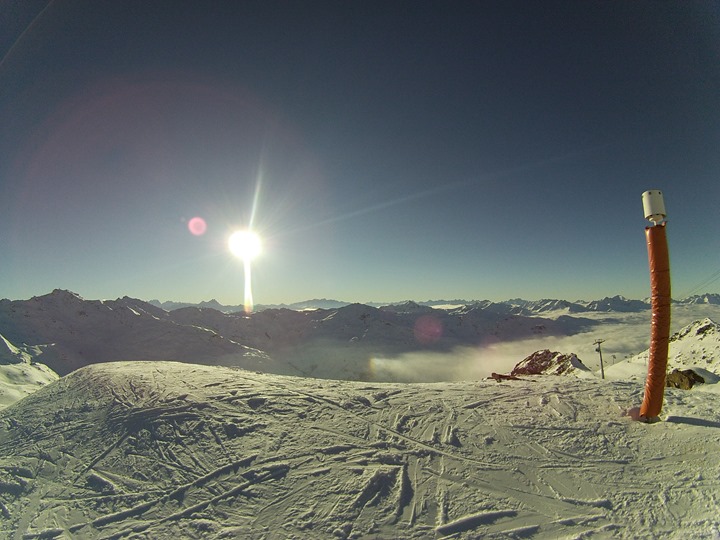
As I noted above, I really liked the time lapse option. I found that perfect for ski areas where you’re surrounded by incredible views for hours on end, and just want to let the camera take random photos every 5-10 seconds. You’ll get a ton of pictures, and some of them turn out pretty cool:
And example of one photo caught in the time-lapse:
With the sequence mode, that’s more in mind for a burst type scenario. But, it’s not super fast. So think of it only as about .5s to 1s between shots. I used it a few times to get shots where instead of pressing the button five times, I’d just move my head slightly and get five different shots (two different ‘shot sets’ below):
And finally, there was the single photo mode. When I wasn’t in the other two modes, I mostly left it in this mode – just taking random photos when I thought it was interesting:
The quality of the photos in 12MP mode was perfectly fine. You do get a bit of a ‘warped’ effect on them, which some people find unique/different, while others would prefer it corrected. There is no built-in correction option on the unit however.
The Mobile App:
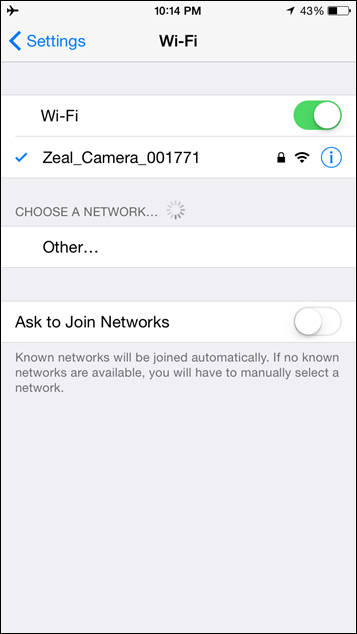
The Zeal HD2 comes with the ability to use Android or iOS devices to connect to and control the camera. Additionally (and more importantly), to also download photos and videos to your phone directly from the unit. To do this you’ll need to connect to the WiFi network. To enable that, you’ll simply tap the WiFi button on the front of the unit. One tap and done.
Next, after opening up the app you’ll see the default screen then you’ll see an immediate video preview streaming from the goggles.
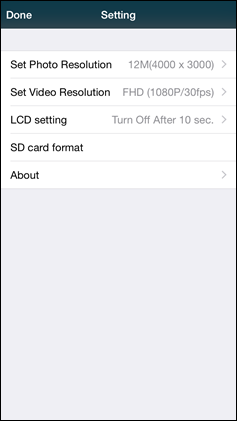
You can then tap in the upper right hand corner to quickly change all the settings on the goggles that you would via the dedicated settings buttons on the unit itself – such as resolution and frame rates:
Also, within the main page you could have changed between the different light conditions, as well as from video to photo mode.
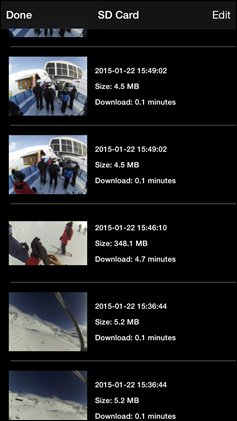
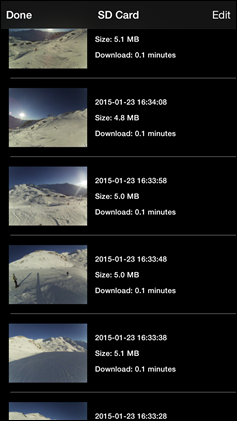
Meanwhile, if you click on the MicroSD card in the lower left corner it’ll enumerate the SD card’s contents, showing you all your photos and videos:
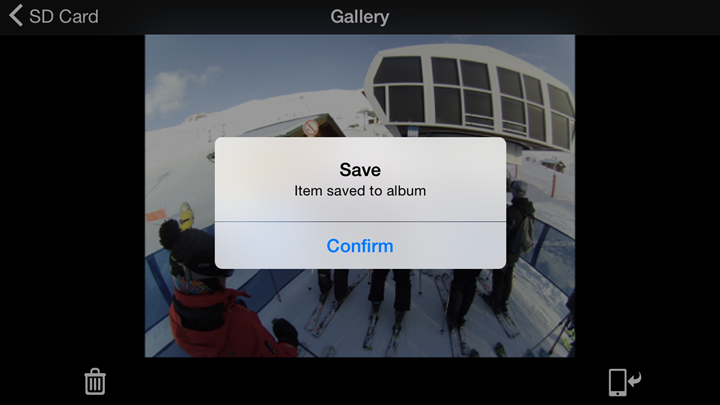
You can double tap on one of them to load a bigger preview, as well as to save the image to your phone:
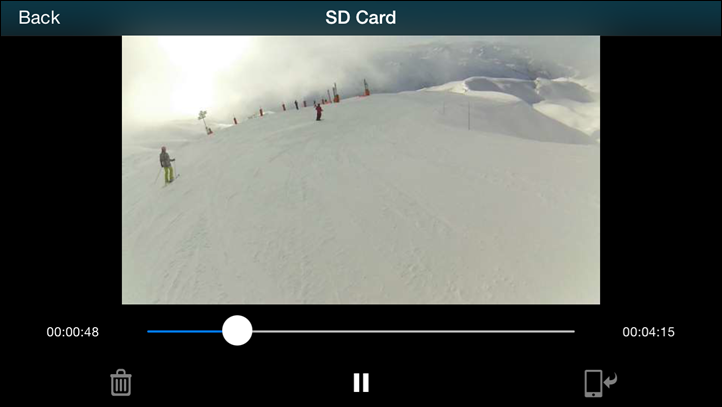
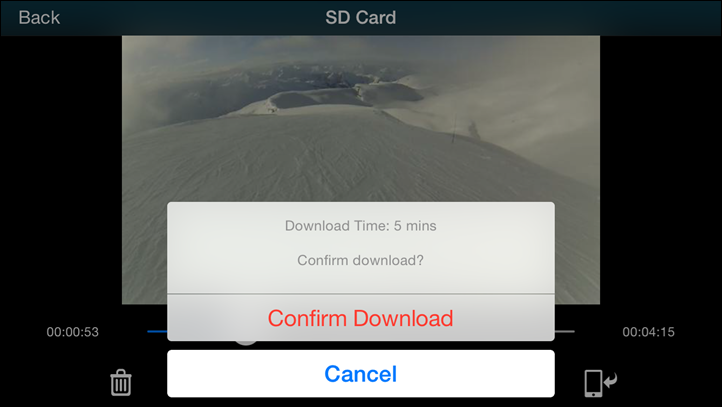
The same goes for videos, where you can stream a preview of the video, or save it to your phone in its entirety:
From the gallery you can also delete photos and videos as well, if you’re short on space. Additionally, it’ll give you battery status too
The only downside to the app is that I wish it sorted the photos and videos in separate folders. If you had used the time-lapse mode it’s kinda a mess to find the handful of videos you may have taken, due to having to wade through hundreds of photos.
From a basic app standpoint, it works well enough. For example, some apps don’t even allow you to download photos/clips (cough, Garmin VIRB), so for a non-action camera focused company, I’m perfectly satisfied with Zeal’s app functionality.
The difference between this and a GoPro:
I rarely specify the entire genre of action cams as GoPro’s, as I did in the above header. But since I couldn’t easily fit “The difference between this and a separate helmeted mounted action cam”, I just went with GoPro. But my underlying point is still clear: Why get this versus a GoPro? Or rather – should you get this instead of a GoPro?
Well, it’s tricky. First, most dedicated action cameras do have better image quality than the HD2 does. And, many have more features and functions. If you’re after the best quality and features, go get a dedicated action cam – no question there.
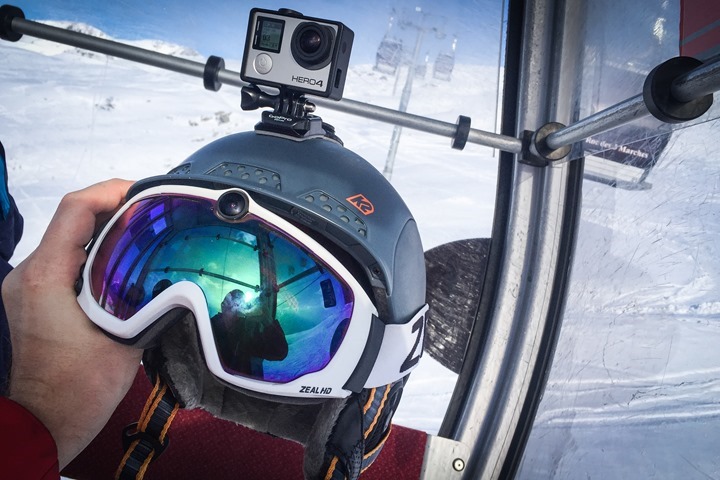
But, if you’re after trying to be more discrete…then the Zeal HD2 is actually really interesting. While these days, wearing an action cam on one’s head while skiing or boarding is completely commonplace, it’s still something sticking up off you’re head (or chest). For some people, that’s annoying. That’s where the HD2 is a better fit. It’s not something most people realize is even there – it blends in perfectly, as you can see below.
(Photo from a video clip my friend David took during our trip)
Similarly, one of the challenges with most action cams (including a GoPro) is lining up the shot as well as controlling the camera. The never ending “Is it on?” questions to your friends. Some of this can be solved through remote control accessories. And the double checking the view atop your helmet can be solved via a cell phone, but that gets old real quick on a cold day on the side of a mountain. For that, the HD2 is awesome with the built-in display.
Of course, that display is simply showing me whatever I’m already looking at. But that display does answer the omnipresent ‘Is it on?’ question, as well as shows me exactly what mode I’m in. Additionally, the buttons on the side, while a bit tricky to get used to at first, actually work well. And, I think I actually preferred that solution to the Recon GPS goggles which have a small control pad. I think I preferred it primarily because it was one less thing to worry about losing it (not because it worked appreciably better).
I think for me this past weekend where I wasn’t trying to record every moment via an editable GoPro clip, the HD2 works well. I just tapped to turn it on when I wanted to capture something interesting (photo or video), and then when I was done I turned it off. No fumbling around or wondering if my battery needs to be changed. For that convenience, I’d probably use them again in the future in situations where cell-phone quality images would be perfectly acceptable.
Summary:
Overall the HD2 actually surpassed my expectations. I figured it’d had a crappy camera in it, and a crappy app. That’s often the case when a non-camera company tries to stick a camera in it. To my surprise, the camera is quite decent, and the app itself more than capable. It all worked pretty well together.
I guess in some ways I shouldn’t be surprised. The last time Zeal ventured into technology-enabled snow goggles they did so with Recon Instruments for the heads up display system. That yielded quite a solid product, one which will eventually enter into the running and cycling space as Recon starts shipping their Jet sunglasses sometime soon.
Of course the bigger question is whether or not it’s worth the price versus just getting a standalone action cam. For that it’s a bit tricky. If you look at some of the base action cams, like the GoPro Hero (2014 edition), that’s at $129. The Garmin VIRB in the same ballpark a tiny bit cheaper. Neither of those can connect wirelessly to your phone though. And more importantly, both of them must attach outside your helmet.
So in a lot of ways, it comes down to whether or not you want to be less obvious about having a camera on your noggin. If you don’t care about that aspect, then a standalone action camera is honestly a better play. For that same money you can get the top of the line Hero4 Black (or heck, two really solid non-4K cameras). But, if you want to just fit in more and not look like everyone else with a camera strapped to your head – then the Zeal HD2 is where it’s at.
I’m reasonably certain that if I’m not using an action camera for some sort of specific test, I’d actually probably just stick with the HD2. The battery life was good enough for casual videos and photos throughout the day, and the quality perfectly fine for sharing with friends and family. The only downside is that my particular unit kept on freezing when being powered on. Hopefully that’s just a one-off lemon.
Found this review useful? Or just wanna save 10%? Read on!
Hopefully you found this review useful. At the end of the day, I’m an athlete just like you looking for the most detail possible on a new purchase – so my review is written from the standpoint of how I used the device. The reviews generally take a lot of hours to put together, so it’s a fair bit of work (and labor of love). As you probably noticed by looking below, I also take time to answer all the questions posted in the comments – and there’s quite a bit of detail in there as well.I’ve partnered with Clever Training to offer all DC Rainmaker readers an exclusive 10% discount across the board on all products (except clearance items). You can pickup the Zeal HD2 goggles (or any other Zeal goggle product) from Clever Training. Then receive 10% off of everything in your cart by adding code DCR10BTF at checkout. By doing so, you not only support the site (and all the work I do here) – but you also get a sweet discount. And, since this item is more than $75, you get free US shipping as well.
Because there’s a bunch of Zeal goggle products with technology in them, here’s the differences between the core variants. Then there’s different lens and goggle frame types after that:
Zeal HD2 Goggles (what I reviewed)
Zeal Z3 GPS Goggles (a product they worked with Recon Instruments on, no action cam, but GPS instead)
Additionally, you can also use Amazon to purchase the unit (all variants shown after clicking through to the left) or accessories (though, no discount on Amazon). Or, anything else you pickup on Amazon helps support the site as well (socks, laundry detergent, cowbells). If you’re outside the US, I’ve got links to all of the major individual country Amazon stores on the sidebar towards the top. Though, Clever Training also ships there too and you get the 10% discount.
Thanks for reading! And as always, feel free to post comments or questions in the comments section below, I’ll be happy to try and answer them as quickly as possible. And lastly, if you felt this review was useful – I always appreciate feedback in the comments below. Thanks!






That’s an interesting font choice!
Eek, thanks Ian/Dennis/Gary! Fixed!
The other downside of having your camera in the goggles is that you always have to wear goggles…. Not such an issue when it’s -16C up the mountain in January, but kind of a sweaty pain in the backside on a glorious sunny day in March.
tie a camera with your goggle or attach at your arm.
Sorry Rahul, I didn’t get what you meant in the first bit, but goggles on the arm isn’t much good for a skier, as the view will be mostly sideways on to the slope, jerky with pole use, and tipped on its side in tuck. For a boarder its a better option perhaps, though still not perfect if they spend much time in switch or side-slide. Not to mention that the upper arm position is far more likely to get bashed in a tumble (which I’m afraid to say, are more frequent than I’d like!) compared to bumping my head (though it has been known!).
I know I’ll always be wearing a helmet, regardless of whether it is goggles or sunglasses weather, so a helmet-mounted camera is going to be better for me.
Another problem for it being on the arm, not only the camera getting bashed, but if you take a nice tumble, having something hard and pointy on your arm will increase significantly of a fractured (or broken) rib. I found that out the hard way with a walkie-talkie when I was on a ski trip with my kids school.
side note – Standing up after putting on a snowboard is incredibly hard with a couple of fractured ribs.
Nice review.
Orange links? after “Found this review useful” don’t seem to be working here.
update: There is a link in the orange parts but my Firefox browser doesn’t follow them as the orange links before the summary part.
Weird. Think I fixed it. Very odd though.
Hi Ray,
Have you ever try the Liquid Image camera?
It’s been a while since a use the scuba diving camera and since last year, the 338 goggles mask. Both of them just work very well and made good video and photo. With the small led indicator in the mask, that told you in wich mode you are and if you are in standby or record mode.
For my first ironman, i was hoping to get the swimming goggles but it seems that it has been delayed….
Anyway, just a short head up to give people more choices…
Thx for the review Ray, as usual
Stephane
I haven’t tried their unit out yet (swim or snow). Sounds interesting though!
I think another reason to consider this is do you want a camera attached to your helmet? In particular, if you have an impact that forces your GoPro into your helmet, you have narrowed the impact point (higher pressure) and potentially decreased the impact time thus increasing the Kinetic Energy K.E. = 1/2 m v2. I’m not sure if anyone has proven/disproved this to be the case with Mr. Schumacher’s crash, but it is an interesting idea.
Good point. Governing bodies of ski racing (e.g. USSA in the United States, FIS worldwide) prohibit helmet mounted cameras in competition situations as they are a protuberance that may cause injury when crashing (think of Bode Miller’s crash at the World Championship super-G this week, where he slid on his helmet going 80+kph). The idea of a goggle-mounted camera offers a lot of upside, and may be a great option for POV recordings from competitions.
Battery/run time info?
It’s spec’d at three hours of on-time. I got a bit under that from what I could tell, more in the mid-2’s. It’s a bit tricky because I’d use it for video and photos, which likely changes the battery runtime numbers.
Understandable. Thank you.
Also of note in that in my tests I didn’t use the Auto-off option, I just left it on constantly. The auto-off option would save a heck of a lot of battery.
ski sample @1’09
is it a fenix 3?
good news seeing a final testing unit
Yeah he said in the Fenix 3 page that it was a Fenix 3 in that video.
Though I don’t think it was a final testing unit, unfortunately.
Another great review – thanks.
Just wondering – I was convinced you were too young to have picked up that “double pole plant” by mono-skiing in the 1980ies – anyways, its only somewhat cool wearing a neon one-piece ;-)
I was double-planting? :-/
One thing I noted on the Ski weekend video snippet comparison was the more realistic point of view given by the goggle cam. It appeared to give a better rotation-motion, which makes sense being only a few millimeters from the human eye.
Agree with the lense comment where either due to lighting conditions or just wear and tear there is a need to easily swap out lenses. Too many head plants can do that :-/
Great review! Taking the kids to Paris this summer and want to spend a couple days in the Alps. Do you recommend Annecy or Chamonix? We will be on the Isle de San Louis so I need to carve some time to eat some cupcakes!
I haven’t spent time at either of those in the summer unfortunately – so I probably can’t elaborate there. Most of my time in the summer has been around Alpe d’Huez (which we enjoyed). Though, I’d be tempted to go back to Val Thorens in the summer as well, looks like a solid slate of activities.
Through work I had the pleasure of spending some time in both places (back in 2007). If you are looking for the alps experience I recommend Chamonix. You are right in in the mountains and can take a tram up onto the glacier year round, or go up the other side of the mountain for intense mountain hiking/climbing.
If you are looking for a traditional French town experience then Annecy is fantastic with the lake right there. Sitting next to the channel enjoying wine, bread and cheese is great.
Will these fit over prescription eyeglasses?
I just bought a pair off an individual for 200 less than the sales price. A lot of the videos in your review were ones I had found making me finally go ahead and get a pair. Your pair of goggles were not lemons. The ones I got did the same thing, and I was about to cry like a baby the first time it happened until I found out the reset button move. I have a question your battery life. When you mean auto off, are you referring to a feature where the goggles automatically power completely off? I was using the feature where after 10 seconds the view finder turns off, but the device still technically is on and will quickly wake up after clicking the power button. In that scenario, and I got about 2.5 hours or so.
I think the devs over at zeal have some work to do and supply with another software update because
Good to know on not being the only one (well, at least as ‘good to know’ as the situation can be anyway).
For the battery, yes, that feature. For the most part though I’d usually just leave it fully on for a few runs at a time, and then I’d turn it off until something of note happened.
The one good thing to say about this is that many people are having this problem and hopefully that will make the developers work a little bit harder than they currently are and come up with a firmware fix. I’ve read some experience it with certain SD cards, but not sure if that is the reason or not. Maybe it was a result of the recent firmware update?
Poor quality construction.
Right out of the box failed to work. Couldn’t connect it to a computer with the cable provided. Day 1.
Sent back.
Don’t buy. Waste of time.
Did you try contacting support? Did you try a different USB cable? Did you try a different USB port and/or computer (computer issues with USB devices are hardly unheard of).
I’ve read all the camera reviews for these goggles that you posted, but how were they from a goggle standpoint. Did they put all their time into the camera and then just throw it on a crappy goggle?
Great review…I also have a problem with the on/off button. I have to press it several times to turn on…and then the little screen sometimes freezes…which means I have to take my whole helmet off to press the reset button. The off button does not respond so off comes the helmet again to turn it off….usually wait til I am in a gondola to do that…but that wastes a lot of battery time. It is my first weekend using it..the quality of the film is great ..but now the mobile phone has frozen and I guess I will have to reboot something to sort it out. Not sure if it will be going back or not….are you still using yours and are you still having to use the reset button a lot?
many thanks…Mary
very interesting review !
Well, I would like to know more about the UV protection, is that UV level 4 (highest) ?
What about Infra Red protection ? you don’t talk about the sun protection very much
I am looking for a camera that it idiotproof, reliable, to take a chance and climb Mont Blanc
the idea would be to save weight and buy one pair of googles instead of classic googles + external camera
I’d figure, this one would be easier to handle and less cold sensitive compared to a helmet camera
The battery life should be further enhanced since placed on the rear of the head of the user (warm place) ?
thank you for feedback
Another great review.
I am interested in the helmet you use. I have a pair of these goggles however the helmet pushed down on the googles and consequently down on the nose making them uncomfortable to wear. Any thoughts on suitable helmets?
I experienced the same issues regarding the unit freezing and having to restart often. The battery time is also weak, especially in the cold. The buttons fell apart by the end of the season. Couldn’t use a 32 gig card. Finally the goggle straps broke in the back. All that being said: Zeal cut the price to $199. That’s almost worth the risk for me. GoPros on my head make me look like a Gaper.
I really like them as well but my much older LiquidImage goggles had much better microphone and also a super long lasting, and exchangeble, battery, and same resolution. But the vision is a bit better with these HD2, and prettier design.
The battery is really bad I think, but for this I bought at battery bank portable to recharge.
And now I see that Zealoptics has stopped selling these video goggles:)
how comfortable were the goggles on your face? Is the foam thick and comfy? any fogging issues? Hows the peripheral vision?
Hi mate,
Today I found one of this googles in the garbache, at first i thought ”eh, new googles, nice”, but then I saw the camera en me was ”WTF is that?”. After every of this, I try to found awnser for my questions, and i arrived here. I used this day and I want to use more, but i dont have the user manual to take the full potencial. Can you help me with this? The real I need is the Wifi’s password for the conecction. I really apreciate if you can help me.
I found the googles outsite rich chale (always rich peeplo throwing good this for the poor people hahaha) and I apreciate the help.
Good post and wait for anwser, have a good night. :D
I meant to buy these years ago, but now I can’t find any camera goggles on Zeal’s website! Why would they stop making them?? I found some used ones on ebay. Have you tried any HD camera goggles since these? You did a fantastic thorough review on these, and I’m doing some research on the latest & greatest vs the best value. Any insight would be much appreciated! Thanks.