I’m often testing a multitude of devices on the bike at once, usually just due to the limited time I have to try and gather data across the 4-5 products I might have in the queue for the bike alone. One of the reasons I do a lot of testing on the trainer is because it’s one of the easiest places to discover and learn a new bike computer, app or device. Inaccuracies become easily apparent in a highly controlled environment, and are also easy to document photographically.
The problem though is where to stash all these gadgets during testing. Sure, I’ve got a 4-cup Oxo measuring cup that usually holds some devices (and my remote control), but triathlon bike aerobars don’t make for a good place to balance fragile items – especially during a hard interval session when the bike might be a rockin!
Last year I picked up a CompuTrainer head unit stand that took a microphone stand and added a modified piece to allow you to clip in a small portion of pipe that the CompuTrainer controller would latch onto. The problem was that while the unit wasn’t too expensive ($40), it didn’t actually allow much room for expansion beyond holding two CompuTrainer controllers.
So I set about trying to figure out how I could make put together a unit that cheap, easy to assemble, and would hold at least three devices. Turns out, it was far easier than I realized.
After a bit of shopping online, I ordered a whopping two pieces (plus a third component I’ll talk about later). The suspects: A microphone (mic) stand, and a boom attachment. One component cost $20, and the other $10. Bingo – $30 in total.
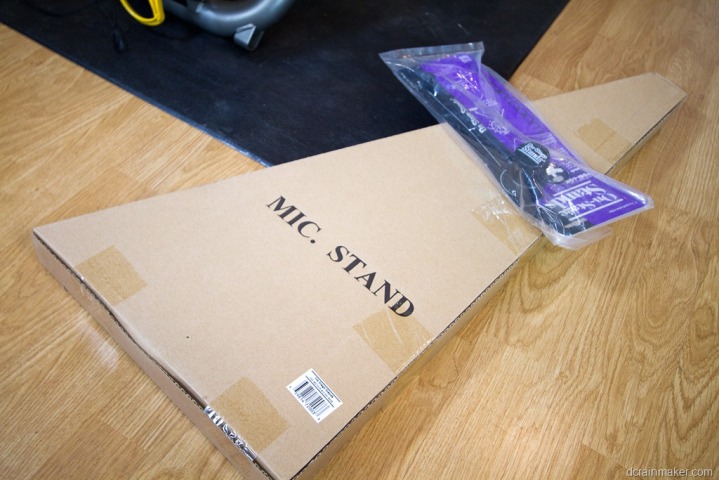
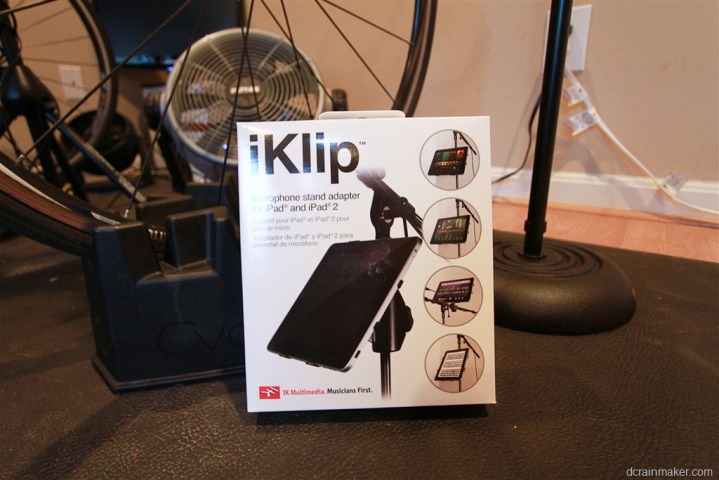
Here’s what they looked like when they arrived:
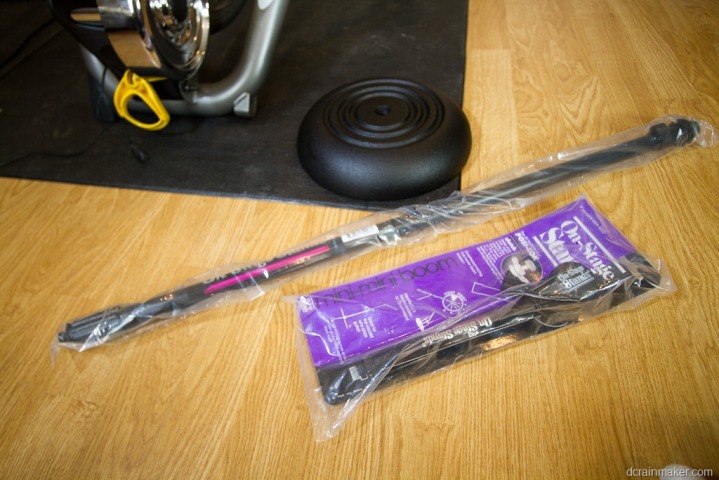
And after approximately 27 seconds of intense unboxing, I ended up with this:
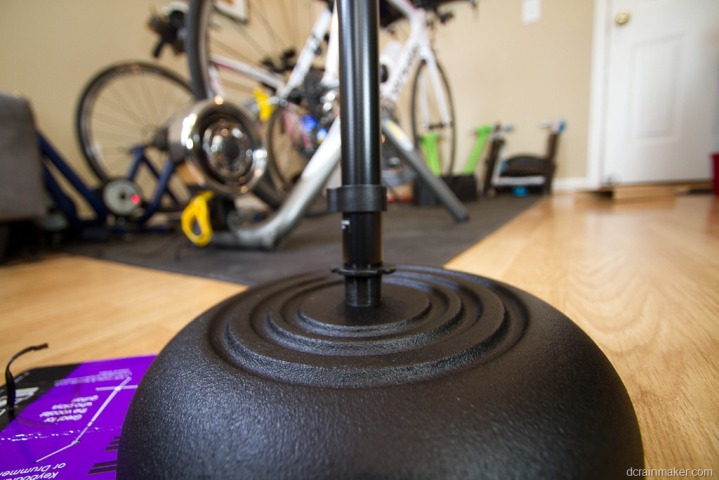
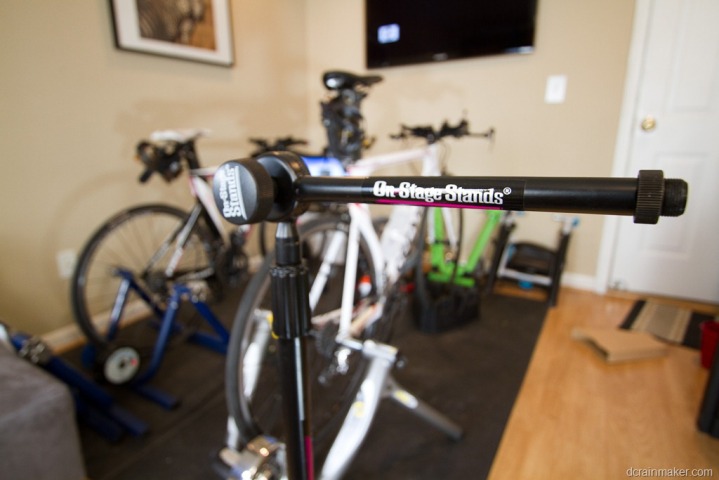
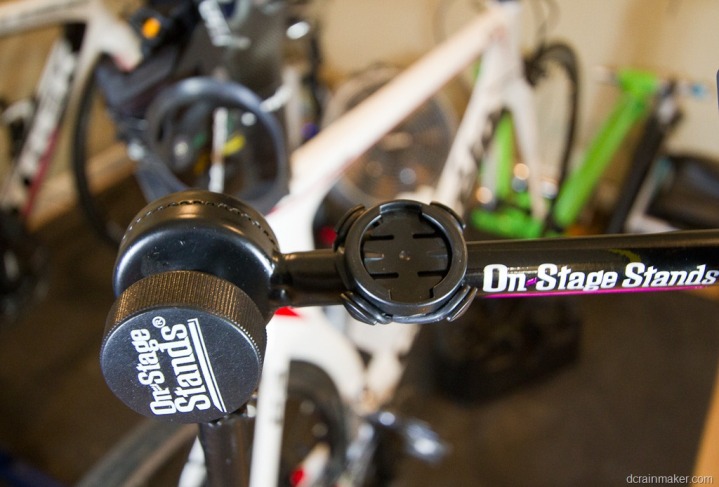
Following an even shorter assembly period, I had the mic stand all set:
The boom arm could rotate any way and in any angle – basically just about 360* of movement options – ideal for cases where you may want things at an odd angle or coming from an unexpected direction. And then the large nob you see there has teeth in it to grip and lock tight. I’m reasonably certain The Girl could hang off of it without it sliding.
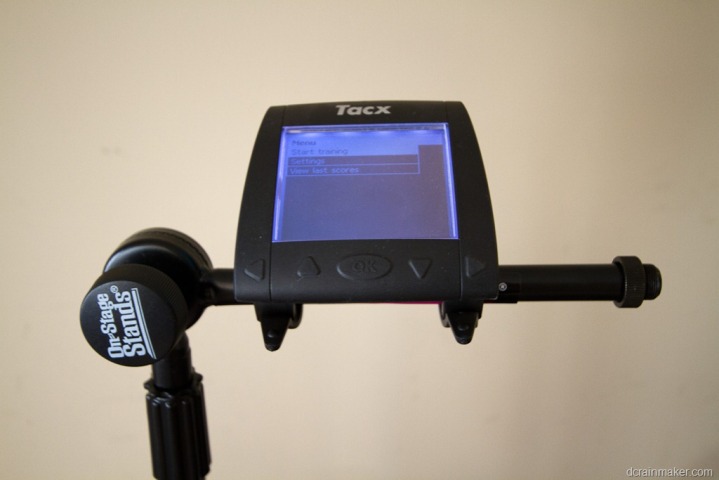
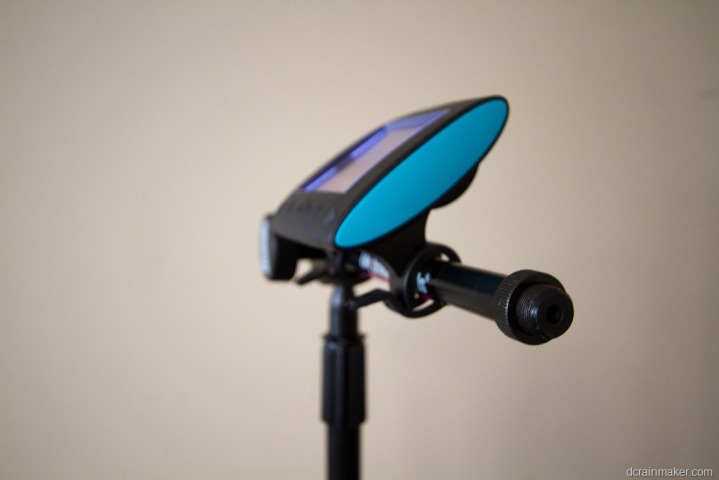
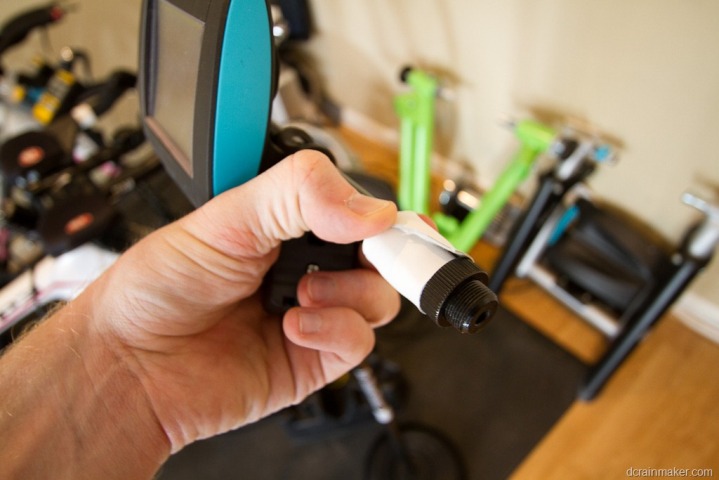
From there I decided to start loading it up. First I grabbed the Tacx handlebar unit, since that has actually been my biggest pain in the butt from a mounting standpoint – since they don’t make an adapter to mount to a triathlon bike. It easily fit though on the mic stand:
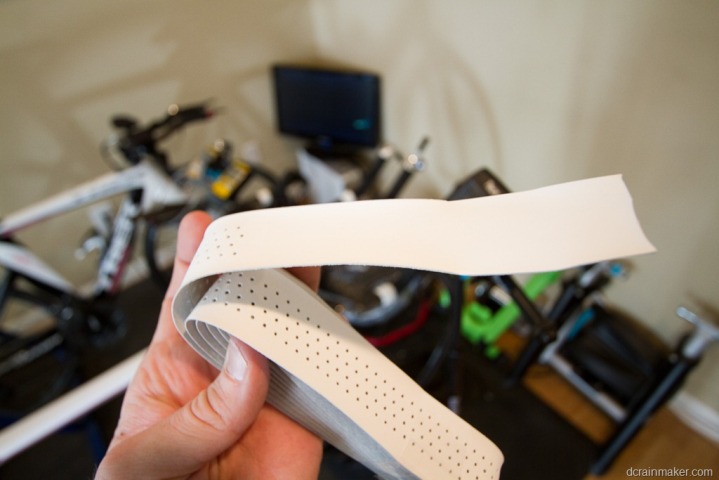
What I realized though is that while the Tacx handlebar unit clipped on – it would actually be better if the boom arm was a bit thicker. So I simply solved that like any other bike handlebars…I just added bar tape:
Now, I could have bar taped the entire length, but I simply just did a few loops around the relevant sections for the different mount types:
Note that if you don’t have bar tape handy, you can probably just use a bunch of duct tape. It just won’t look as pretty. Or, you could really use anything else to act as a wedge depending on the device your mounting. Most ziptie mounts won’t need it, but some of the screw-based ones have limited range and thus the bar tape covers the gap.
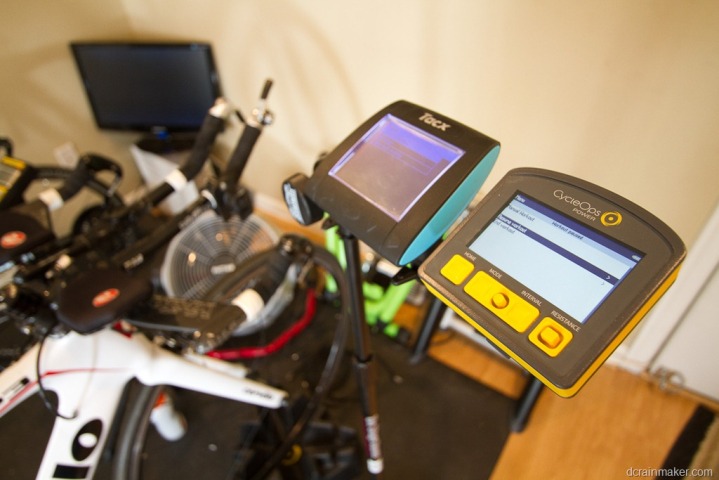
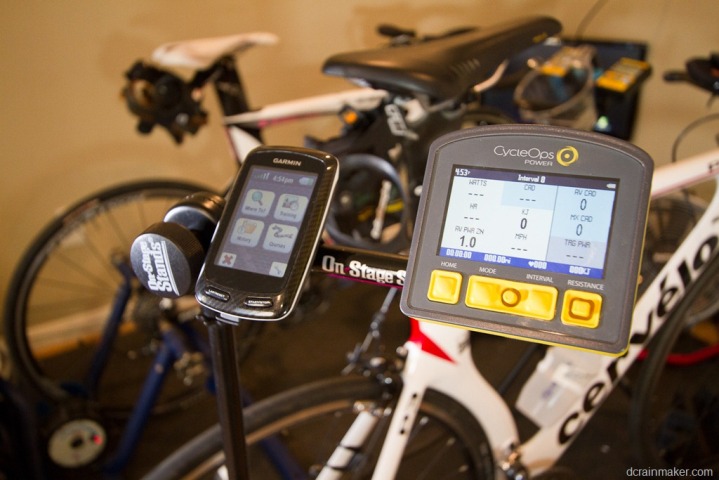
Next up was the Joule 3.0 head unit for the PowerBeam Pro:
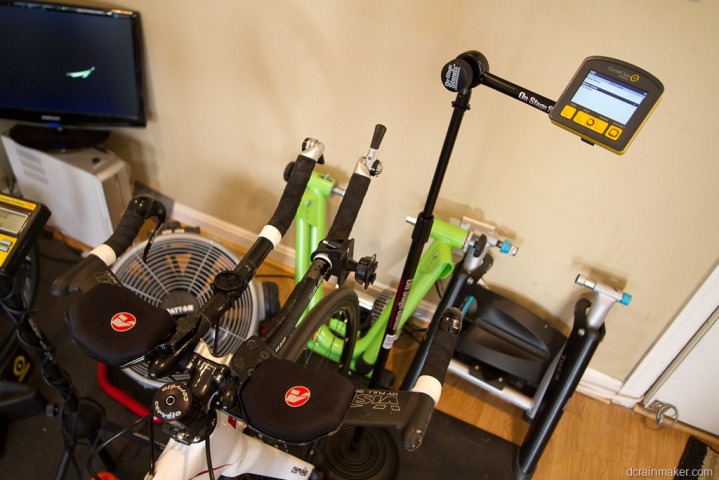
But don’t worry, there’s room for both of them:
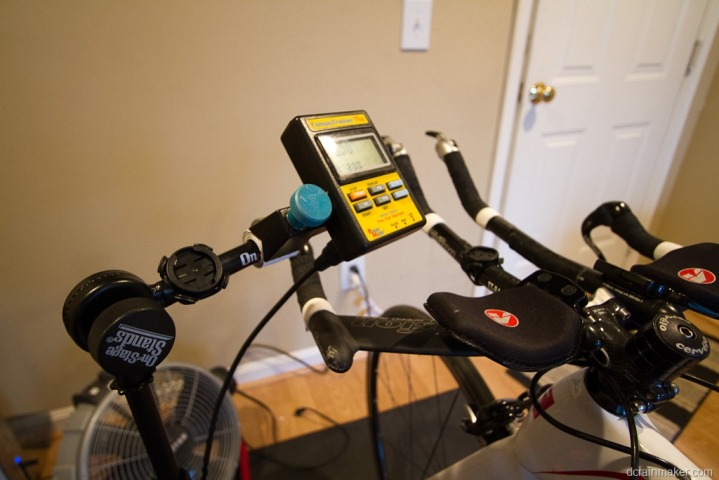
And we have the CompuTrainer controller as well:
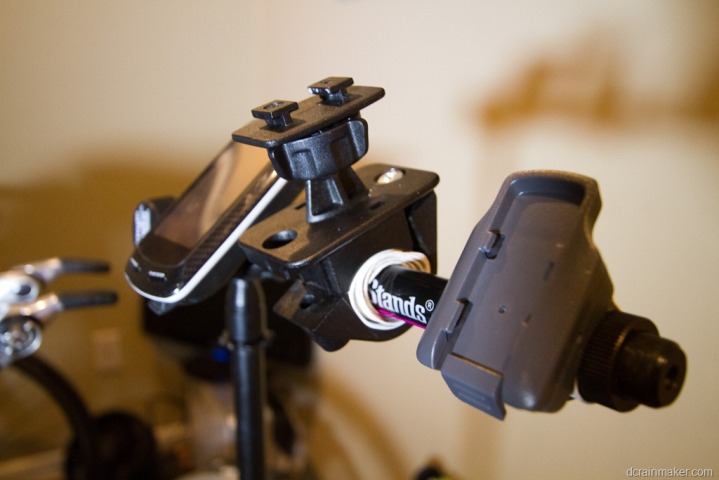
Or perhaps we breakout a Garmin Edge 500/800 and mount it there. Also works with the FR310XT and FR910XT quick release kits. Or you can just use the generic watch mount.
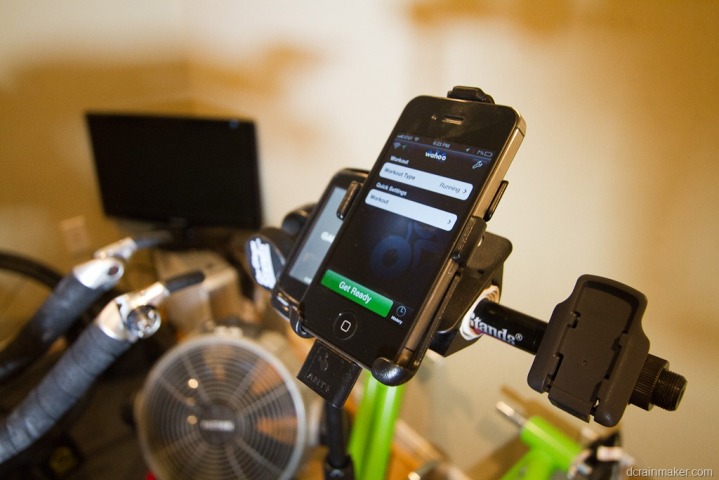
Since some of my tests result in use of an iPhone app, how about a cheap iPhone mount:
And, even better is that now I have a handy place to mount my phone (including the Sony Ericsson Xperia Active with the new Sportypal mount). Also, this would prevent any sweat/water issues since it’s a bit away from my body. Don’t worry though, I won’t mention the name of any certain Seattle individual that recently killed their phone through sweat on a trainer…
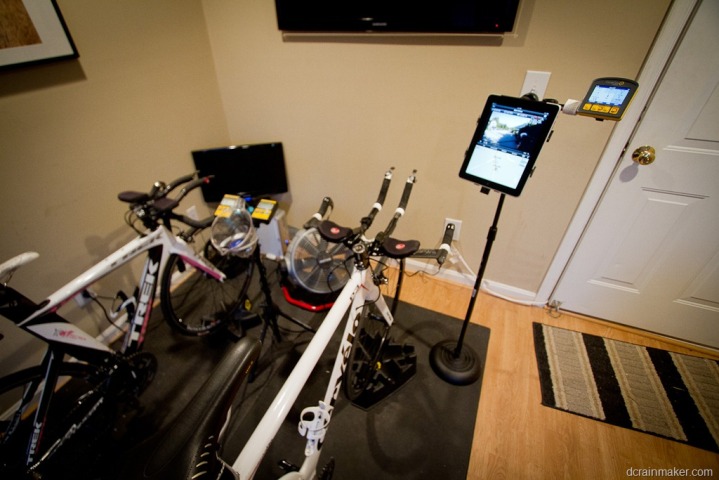
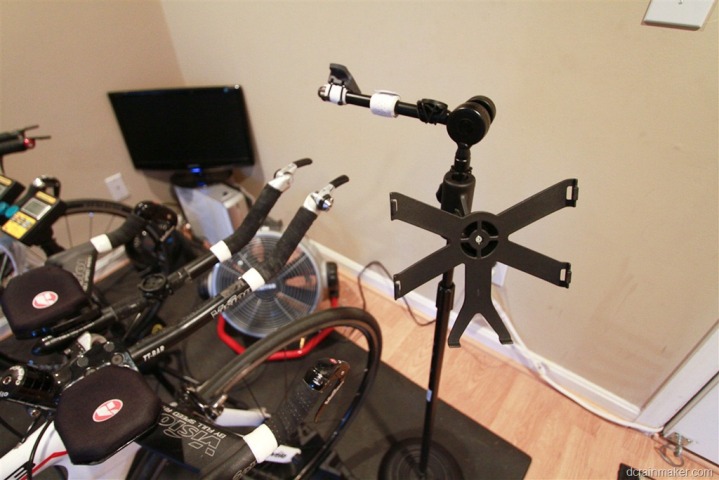
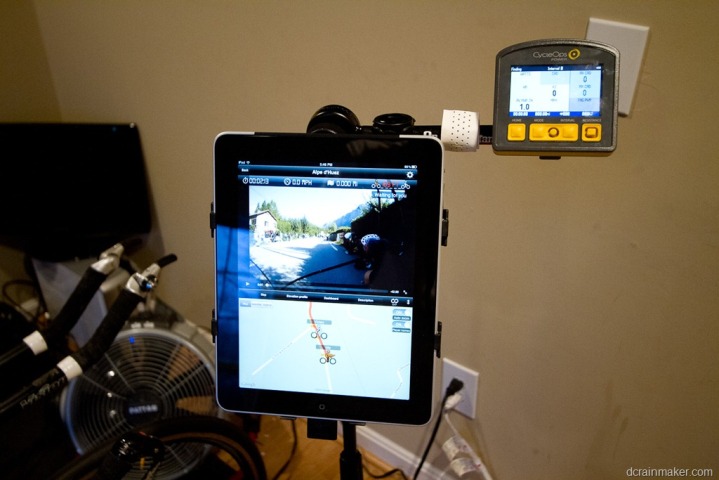
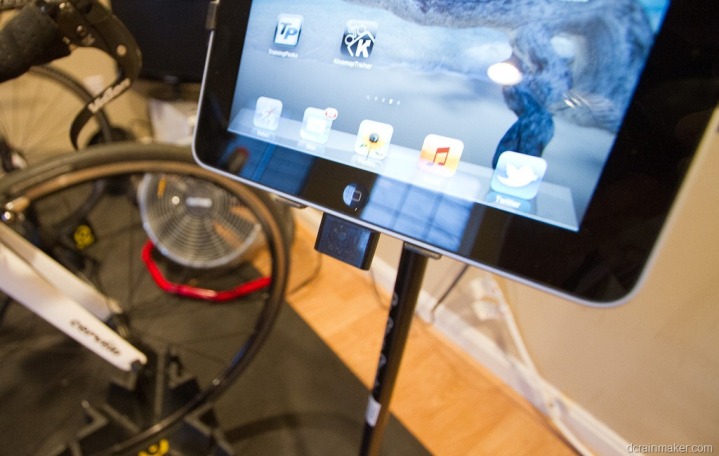
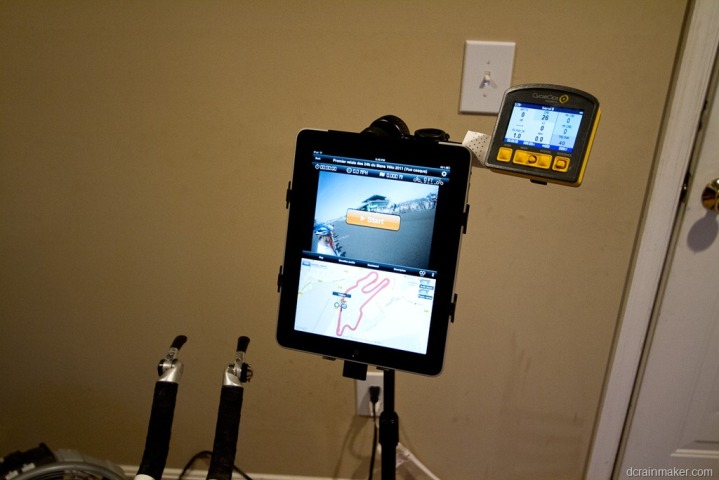
But…that got me thinking. I was starting to fiddle with the Kinomap Trainer software, which is iPad driven – so how could I mount that? Well, turns out that there’s a nifty iPad mount designed for music and mic stands. A couple days later it arrived, and it simply snaps right onto the existing mic stand:
You can orient it either portrait (up) or landscape (side). And the thing is rock solid with little rubber snaps, no concerns about falling or being pumped off.
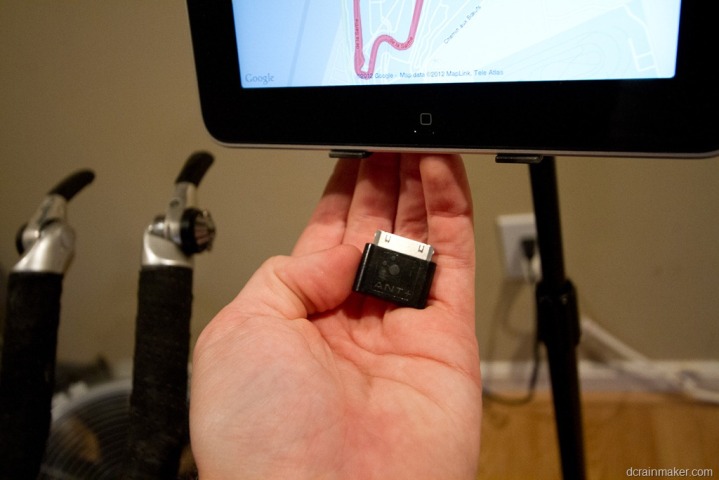
Combine that with the Wahoo ANT+ dongle and I’m ready to roll! Or, you can just pull up Netflix and watch movies instead. Or play Angry Bird HD. Your choice.
As you can see, I didn’t exactly re-invent the wheel and create some whacky concoction of 27 parts from Home Depot, RadioShack and Michaels…instead, I just used off the shelf pieces to put together the simplest, most versatile and most stable stand I could think of. And, the whole thing only takes a minute or two to install (or take apart for storage/moving).
Further, it’s really not limited to a bike trainer. You could just as easily use it to mount an iPad or other device in front of a treadmill, or really any other place where you want to watch data from. You could also use it to hang nutrition off of near a trainer, like a giant rope of gel packets or something.
Now, in the plausible event that you have your trainer near-permanently stationed near a wall (like in a garage), I found this little doohicky that would allow you to just buy the boom part (non-stand) and then for $4 mount it straight to a wall with the boom sticking out from the wall. Basically saves you $20 for the stand.
Cool, huh?
So, in summary, here’s the parts I used:
(Note: There are a slew of mic stands out there, I selected this one primarily because it had a heavy round base that wasn’t shaped like a tripod – but was still small. I figured the tripod style ones would be easy to trip over.)
And optional components:
1) iPad mount – $35
2) Generic iPhone mount – $13
3) Wall mount (no mic stand needed) – $4
4) Bar tape – $7
5) Wahoo Fitness iPhone key (review here) – $80
6) Generic/Garmin watch bike mount – $12
7) Cup holder for remote controls that clips on mic stand- $10
(Note: There are a gazillion iPhone bike mounts, the one I selected is kinda bulky, but it gets the job done. You can probably pick something more elegant…but it’ll likely cost ya. Similarly, you can use any bike mount that floats your boat for other phone types.)
With that, enjoy! Oh, and as always, if you use any of the links above, it helps support the site. Though, you could also just as easily hit up a local music store for most of the same parts.
Thanks for reading!
FOUND THIS POST USEFUL? SUPPORT THE SITE!
Hopefully, you found this post useful. The website is really a labor of love, so please consider becoming a DC RAINMAKER Supporter. This gets you an ad-free experience, and access to our (mostly) bi-monthly behind-the-scenes video series of “Shed Talkin’”.
Support DCRainMaker - Shop on Amazon
Otherwise, perhaps consider using the below link if shopping on Amazon. As an Amazon Associate, I earn from qualifying purchases. It doesn’t cost you anything extra, but your purchases help support this website a lot. It could simply be buying toilet paper, or this pizza oven we use and love.



You’re a real gadget devil. :D
Don’t you think that the noise from the hometrainer is to loud, to wach anything on the iPad ?
I’m looking for some very small speakers, that can enhance the sound enough, for me to use the iPad for movies etc.
btw. Great idea with the stand :-)
that’s awesome, I’ve been trying to find something for the iPad. @Robert, I use headphones (with an extra long cable) due to the noise form the trainer.
Robert: It looks like Ray is watching a route where no sound is needed.
fantastic, I had used a bike pump and taped it to my tru bars when using my tacx, but it’s a pain in the ass, so I ended up putting it on a table.
Any ideas how to mount a laptop?
Music stand for notes perhaps?
Would suit the ipad also but not the bike computers…Something like this
link to hobbex.se
cool toys!! great idea
I’ve using an ironing board next to my bike for water bottle, remotes and laptop. The ironing board is at the perfect height on its highest setting and when I’m done it folds up and gets put away in a few seconds. It may look a little ghetto, but it’s free and functional :).
Haha I do the same when on the rollers on the drive. Towel, iPod and water bottle go on the ironing board. The wife wasn’t best pleased when she couldn’t do the ironing ! Lol
I’ve been looking for a similar laptop stand; everything I’ve found costs $200. So I’m still using a big old table (made out of scrap wood and an old door.) It’s too low, but it’s much higher than the floor, which is my next best option. . .
looks exactly like your bike bars on an outdoor ride :-D
of course you made a trainer bike computer/ipad/phone stand. nice work ray.
This is funny because my husband made me a book stand for while I’m biking, similar concept, but it cost us about $5, and made totally out of PVC pipe. It’s amazing how creative bikers get when they need something!
By the way, is there a bunny in the near future?
Awesome…great find. Funny how that link on Amazon is almost sold out (2 left when i ordered).
When do we see the bunny pictures.
I did almost the same thing, but used slightly different parts.
I used this MIC stand.
link to amazon.com
I used this to mount my computer right below it.
link to amazon.com
I used this to mount my iPad.
link to thegigeasy.com
I used this as a place to keep the remote handy.
link to amazon.com
Thanks all, glad you found helpful!
Cool alternatives Rbyyny, especially the cupholder for the remotes – I love that one! I’ve added it above to the links up there as well. Nice tip!
I use my camera’s tripod as my stand. Very flexible with regards to height, angles etc. I have an iphone cup holder attached on top and my CompuTrainer controller attached to the tripod’s handle, the handle is long enough to attach all my ANT+ head-units if I wanted to. I can post a photo of it if you like? If you just be imaginative theres always something lying around the house that you can use.
Ray what software do you run on your iPad for your indoor rides?
Keep up the great blo Ray, thanks a mill.
I have my laptop on an ELFA set of drawers with the top and casters. Not cheap, not too expensive. But it also gives me a place to store towels and some other stuff.
The mic stand was rather a brilliant little leap. I have been thinking about building something out of PVC. A glued up PVC stand would have never looked as good.
Ray,
What app is that on your iPad?
I have been using Logmein Ignition to mirror my screen while using the trainer road application. It works great.
Thanks
I use a simple music stand. Holds the laptop for my Tacx trainer and anything else I want to set on it or clip to it.
Huge thanks for this idea. My bits arrived this morning and the iKIip2 seems superb, fully rotatable.
I am now using this as a bedside iPad stand too, so no need to hold (the surprisingly heavy) iPad when reading in bed.
KICKR ride with it later when the Tour starts.
I already have a Computrainer and am tempted by a Wahoo Kickr. I appreciate the mounting differences but as I have a dedicated bike permanently on the Computrainer that’s not really a factor for me. I also have the Computrainer adapted to a Kurt Kinetic Rock ‘n’ Roll which makes for a far more pleasurable riding experience.
I would use either with TrainerRoad. Is there really much benefit in upgrading or is it mostly a sideways move?
If you already have a CompuTrainer with TrainerRoad, it’s largely a sideways move. Yes, there’s a bunch of significant features around both ANT+ and Bluetooth support, but not enough that I’d make a secondary major investment unless you could do well price-wise selling your CT (i.e. $750-$900), which may be hard to get.
Thanks Ray. As a Computrainer user, is there any noticeable riding experience difference between the Kickr and the CT that would make a change worthwhile?
Yes, there’s a number of fairly significant changes. Check out the end of the KICKR review for a full comparison to the CompuTrainer and my thoughts there.
Nice job, Ray.
Now I feel ashamed, I train indoors in our garage with spiders around at most…
According to the track on the KinoMap photo, do you plan doing the Le Mans race? :)
Thanks.
No, no plans. :)
I’ve been looking for something like this and they’ve been so expensive. You are awesome. I’m on the way to the music store now.
For those of us with zero construction skills, I just use a music stand for my iphone/ipad or whatever, works very well and comes in even cheaper.
link to amazon.com
Note re the iKlip 2 – newer ones come with adapter clips to fit the narrower iPad Air. Older versions do not but the adapters are available from IK Multimedia’s website for $14.99. I’m actually a little annoyed – I bought the iKlip 2 from Amazon and they shipped older version – no clips. Not sure that if I ship it back for a replacement they will ship the newer version. Why should I pay $14.99 for the adapters? They should be free for buyers like me.
Great tip. Ordered my parts and set it all up in a half hour. Thanks for sharing.
Or just buy one of these
link to logic3.com
reasonable price too….
that is a brilliant article and you are a geek genius – I have just bought me an indoor trainer, so now will get me a mic stand!
If you’re looking for an easy solution for computers, bottles of water, etc., I use a height adjustable hospital table.
link to amazon.com
Very helpful article. I have gone for the boom mic and iKlip over a Tacx handlebar mount as I suffer from motion sickness and have the ipad ona stable platform will be much better.
Thanks.
Even your older articles are useful :)
Just ordered the stand, cup holder, and the iKlip (for the ipad mini). Was thinking about the tacx handlebar bracket but I think the mic stand option is simpler so I don’t have to take things on/off the bike when I switch from indoors/outdoors (I do that a lot).
As usual, this is gold! Thanks DC Rainmaker! For those concerned about noise and media sound when on the trainer, just get noise cancelling Bluetooth earplugs. Acceptable ones goes for about $20. Cheers!