Monday night I had my usual Monday easy swim, and since it’s summer, I was able to do it outdoors in the town pool (during the winter, I’m stuck indoors). I had planed afterwards to spend a bit of time and get some product shots I needed for a variety of upcoming reviews, as well as to just round out some missing edges on my own sports technology product stock library.
You probably have noticed that I use all my own photos for pretty much everything I post – virtually never using vendor provided photos unless nothing else exists. In the course of that I end up taking lots of photos of products, some of which are used in the In Depth Reviews, and some of which are sprinkled throughout other posts or efforts over time. I try and think ahead a bit on what I might need down the road, as well as circle back and get photos I might need for products I’ve reviewed in the past. For example, even though I already published a review on the Swimsense and AquaPulse, I really prefer the look of the outdoor pool for some shots – so I try and get a few shots in case I want them down the road for something else. On average I have a library of about 800-1,000 photos per product.
Given my workout Monday night would only take about 50-60 minutes, I budgeted about 90 minutes all in – such that I could finish the workout and then spend another 30-45 minutes at the pool right before it closed for the night to get in product shots. I’ve long since learned that for pool photos – especially with a professional grade DSLR camera and underwater case – it’s better to do so just before the pool closes since that’s usually the quietest time. Btw, details on all my photography equipment is on this page here – including the underwater aspects
It so happened though that earlier in the day I was chatting with Bruce, which some of you may remember as my pilot/photo friend. He was saying that he was looking for a picture to take for this photo of the day series. Perfect! Within a few minutes I managed to sucker convince him into going to the pool later that evening and helping out with the photos. Shooting by myself on land is pretty easy (tripod, intervalometer, etc…), but shooting myself while swimming is fairly difficult (I’ve done it, but it’s a pain). Thus, score!
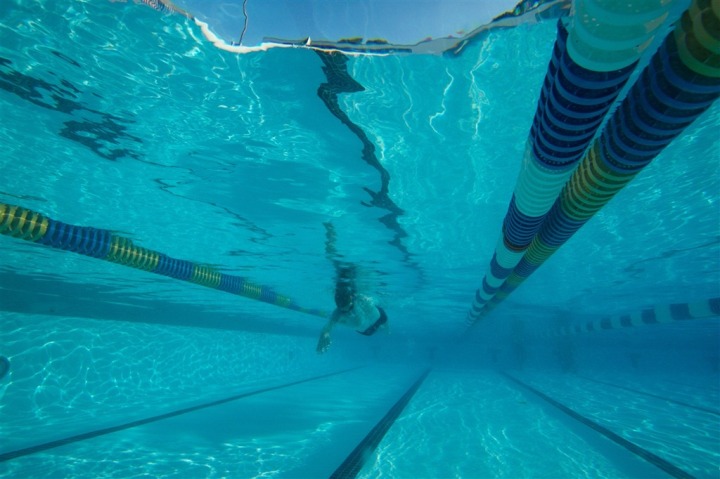
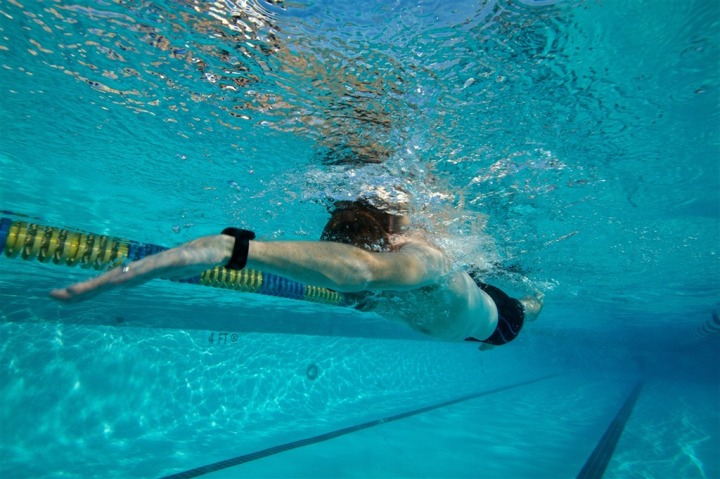
After I finished up my scheduled workout, it was to the photos we went. He hadn’t used the underwater DSLR case before, so it took a little bit of getting used to – during which time I ended up doing lots of back and forth 3/4ths laps. This is easier than a full lap because it takes less time. He would sit about 7-8 yards off the wall, and then I’d just do flips on the wall and then about 10 or so yards afterwards in the middle of the pool (no wall required). You can see me below, just after having flipped mid-pool.
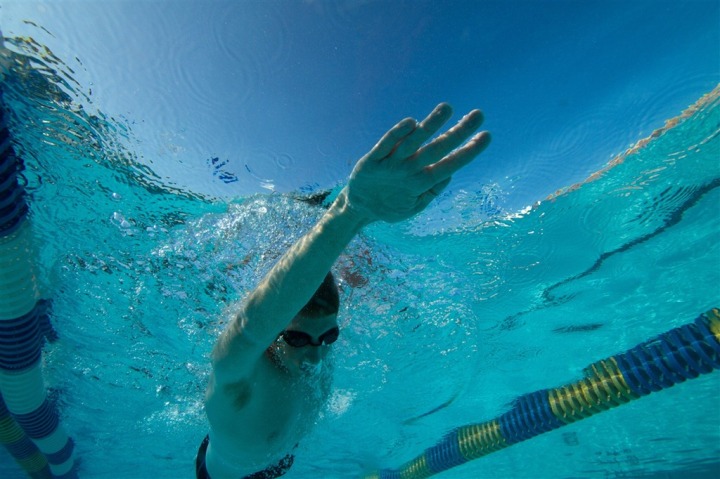
First, we just got some generic photos, and in general, just got used to working together in the water, timing, positioning, etc..
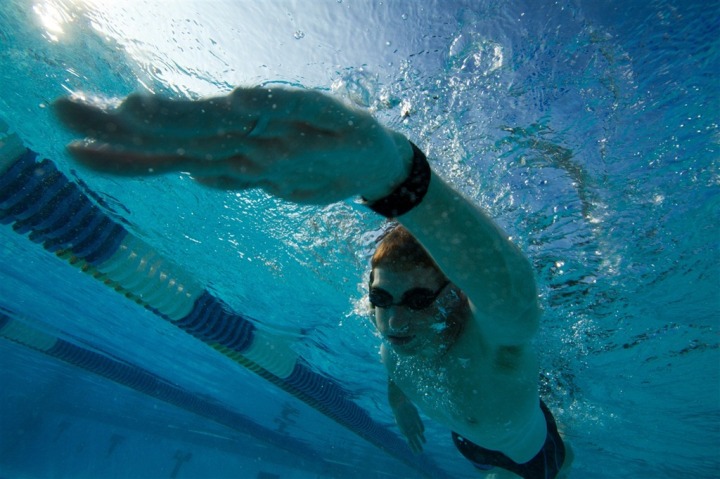
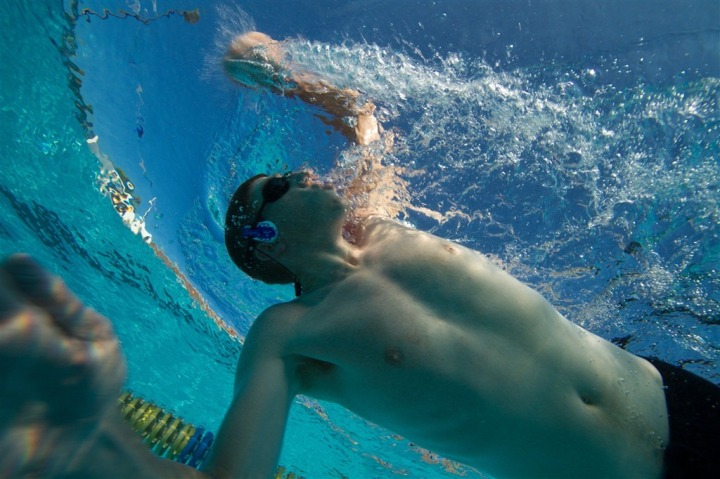
The trick to this pool is that it’s only about 36” deep, so there’s not a lot of room to work with – especially if he’s lying on the bottom and the camera itself is nearly a foot deep…thus resulting in the occasional whack (my lower hand about a split second away from hitting the dome):
It’d be a bit more fun to work in a little deeper pool, especially outdoors. We had tried some shots with the sun directly behind me, but even with a wide angle lens (10-22), I was just too close with the shallow pool.
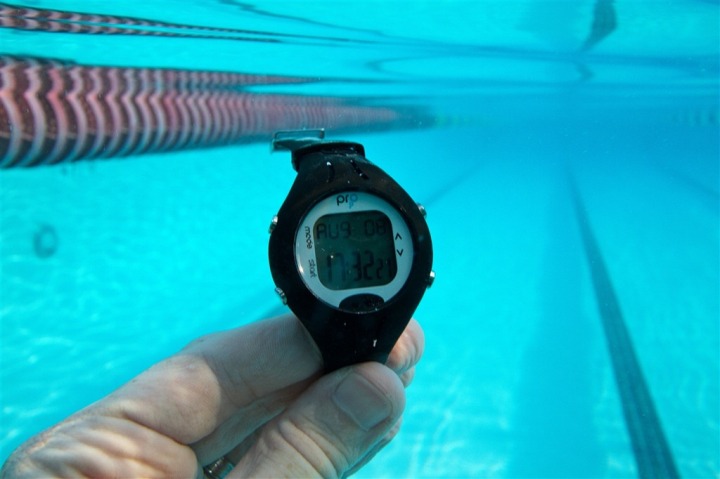
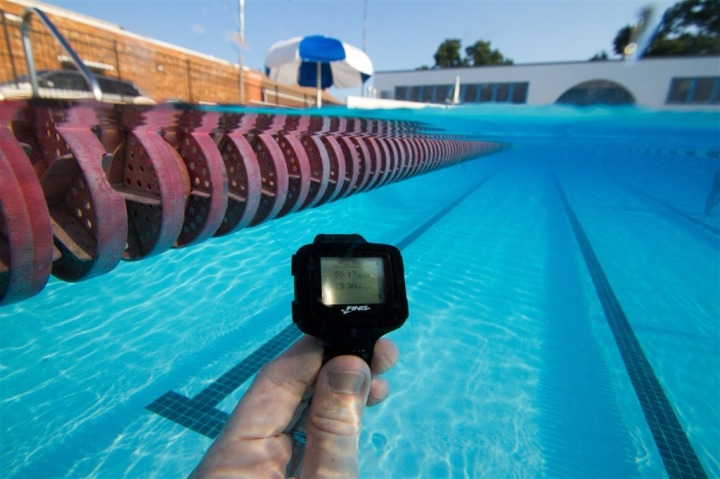
Then we worked through some photos with the AquaPulse for the DCRainmaker archive:
Which, once you zoom in a bit, isn’t too bad (remember that the goal of my photos aren’t marketing, but rather to give context):
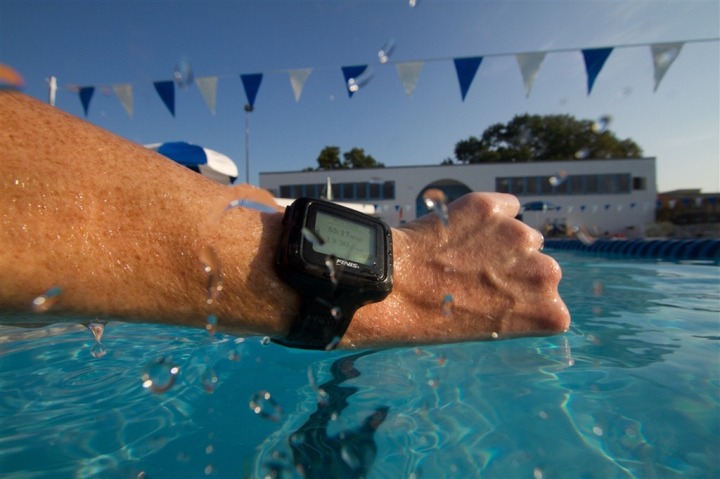
Then we did a handful that included the Swimsense:
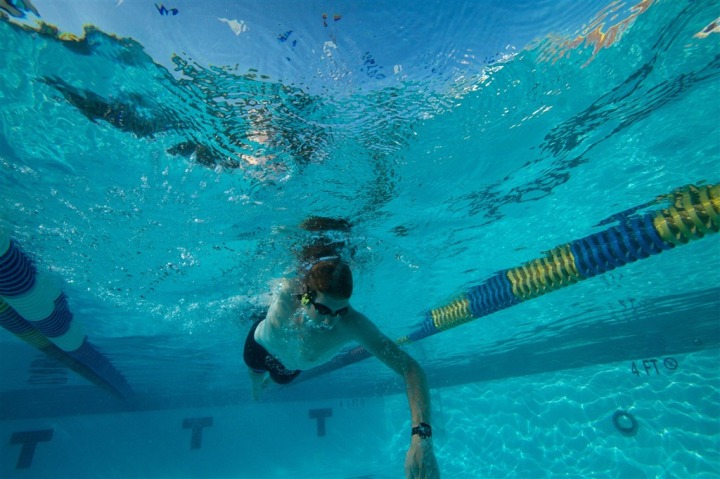
And sometimes, the shots don’t quite come out like you intended. Taking watch on wrist shots are actually more difficult than most folks realize, especially when you get the sun reflecting off the glass/plastic. The below is a clear fail (my shot) on multiple levels – water on lens, watch too far away, weird wrist angle, etc… but it wasn’t a critical shot that I wanted, so I didn’t futz with it and just moved on.
I took a couple Poolmate Pro photos, again, for the archive. These would need to be cleaned up in Lightroom a bit more though – so I may retake them another day:
Then a couple ones with the Garmin GTU10, showing it’s waterproofing, so that once I get around to actually writing that review, I can talk to the waterproofing aspect and have an easy way to illustrate it:
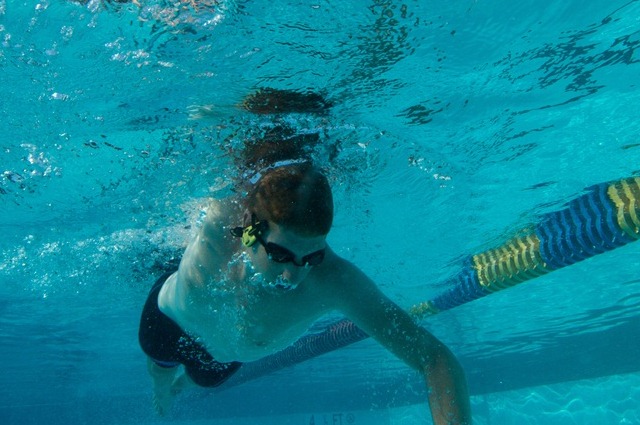
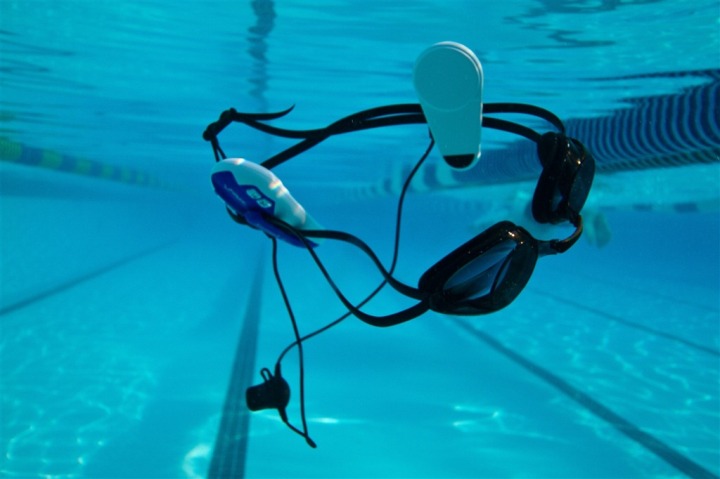
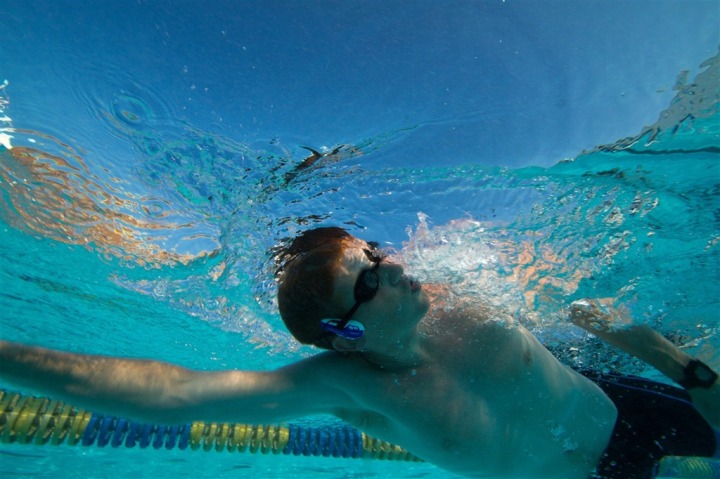
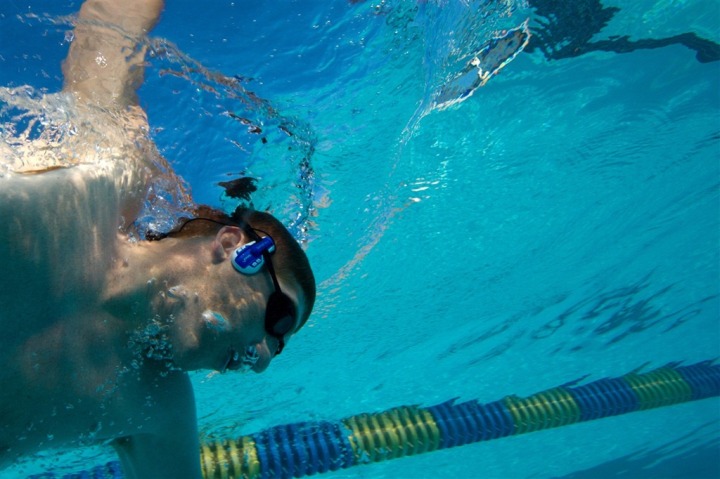
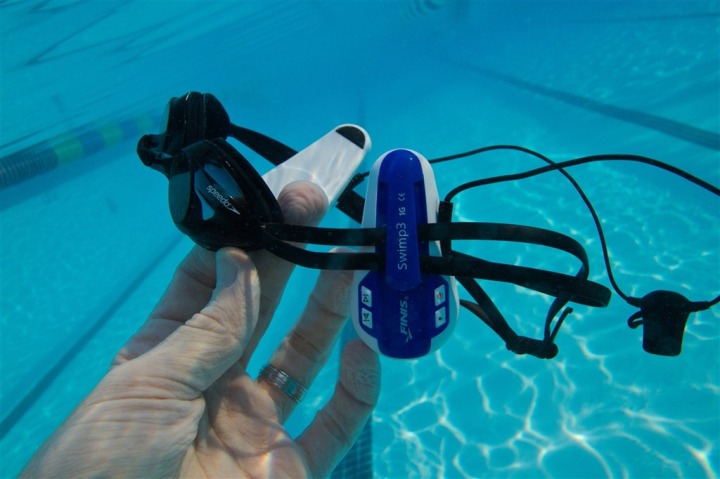
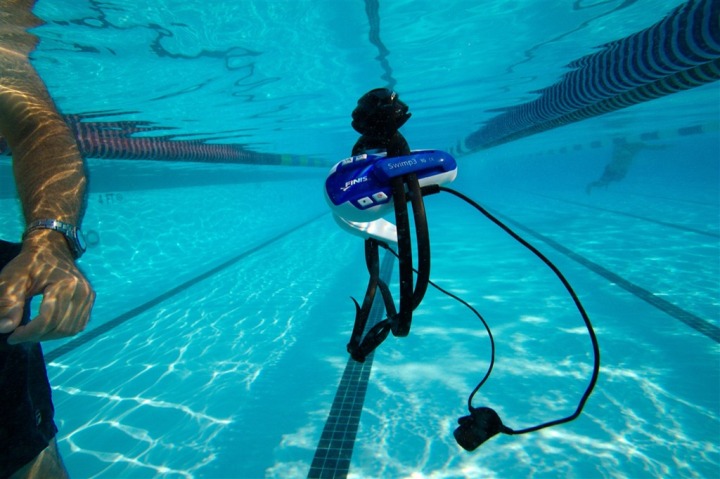
Then onto some shots for an upcoming review/shootout on the SwiMP3:
And again, sometimes in the list of 487 shots taken, you get a few misfires, like this one – actually showing the very edge of Bruce:
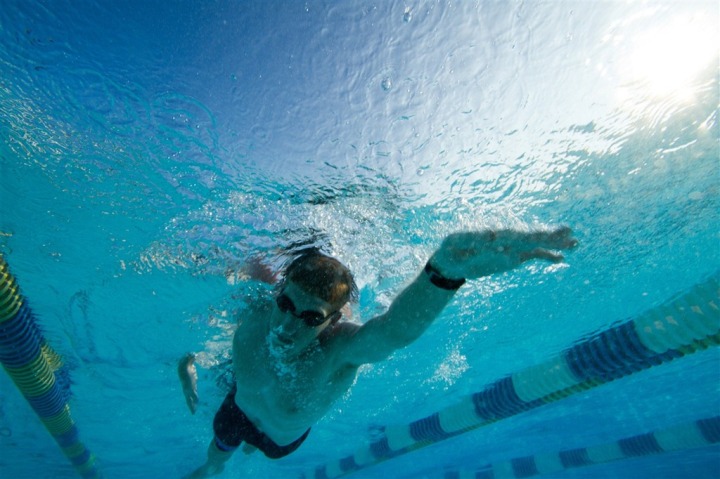
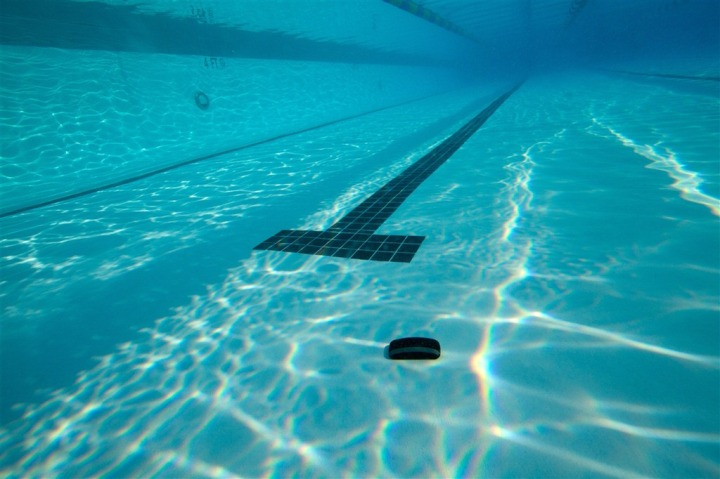
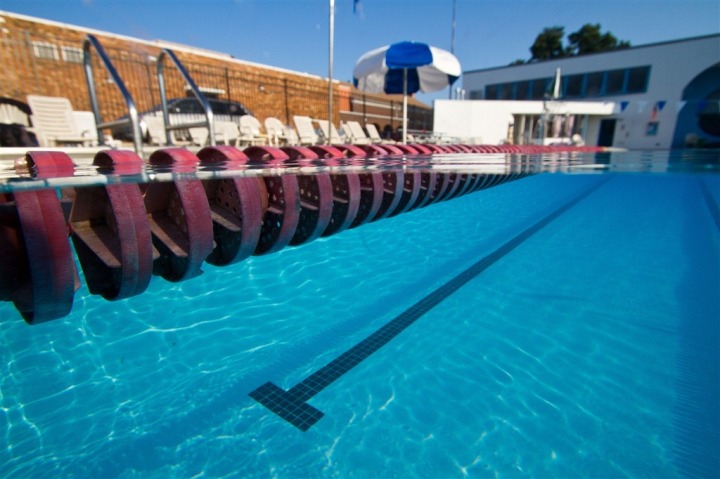
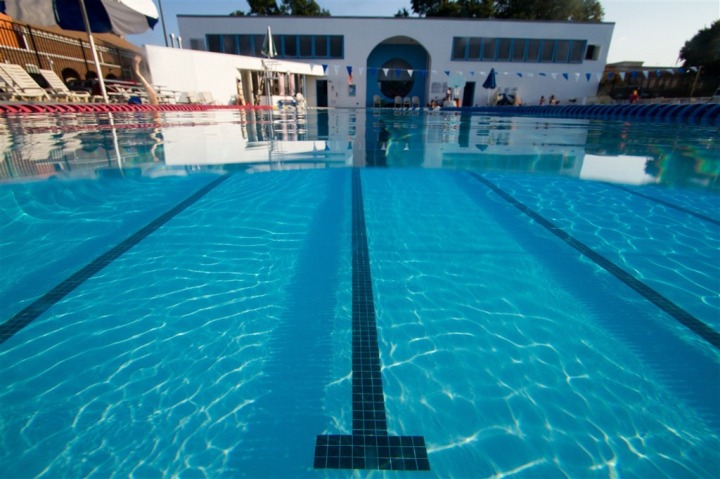
And finally, once all was said and done, I took over the camera to have a bit of fun just shooting some half & half shots before the whistle blew and the pool closed. I don’t know why, but I love shooting half and half shots. Probably one of my favorite ones I’ve taken was in the Maldives in this post with a coral reef below water and the islands palm trees above. Lacking either a coral reef or palm trees, I made due with a blue and white umbrella and some lane lines.
So there ya go – a bit of the behind the scenes on product review photo shots in the pool. Of course, it’s much more fun in the summer since on a sunny evening it’s much easier to take good photos compared to an indoor pool that’s poorly lit (without adding strobes, etc…).
And if you found this post interesting, you’ll probably find my more general one on how I put together product reviews interesting. I put it together on a rainy day last winter: Behind the scenes on product reviews
(Oh…and P.S. – Swimming is my weakest sport, and undoubtedly despite my attempts to pick out the best looking photos from a form perspective, sometimes the shot I need didn’t quite align to my best form. Just sayin’.)
FOUND THIS POST USEFUL? SUPPORT THE SITE!
Hopefully, you found this post useful. The website is really a labor of love, so please consider becoming a DC RAINMAKER Supporter. This gets you an ad-free experience, and access to our (mostly) bi-monthly behind-the-scenes video series of “Shed Talkin’”.
Support DCRainMaker - Shop on Amazon
Otherwise, perhaps consider using the below link if shopping on Amazon. As an Amazon Associate, I earn from qualifying purchases. It doesn’t cost you anything extra, but your purchases help support this website a lot. It could simply be buying toilet paper, or this pizza oven we use and love.



Very insightful post on the behind the “blog” action. Sometimes as readers we quickly read through posts not really thinking of everything that comes together to make it happen, especially with regards to photography. Great job Ray!
Ray, the RING looks good on you!
Nice!
What pool is that?
I’ve been going to the public pool at Hains Point lately for laps and really enjoy it more than my indoor gym lap pool.
Aww..thanks Lindsey!
Anon – This is the Alexandria Old Town Pool, just behind King Street Metro.
Extensive and detailed photos are one of the things I love about your reviews. Often if I want to answer a product question, I wind up looking it up here instead of on the vendor’s site, which is kind of weird–vendors should be able to afford a digital camera. It’s almost as if they’re still stuck in a print-oriented mindset, worrying about the cost of photos in their manuals.