When the folks that make the i-gotU GPS Travel Logger sent me an e-mail earlier this summer asking me to review their latest gadget…I happily said yes. As many of you know, I love taking photos, enjoy travelling, and also have lots of fun GPS technology. How could it get any better? (Yes, I suppose they could have send me on an all expense paid trip to Fiji…but…oh well).
So what does it do? Well, think of it as a tiny little device that tracks where you are – so your pictures know where they were taken. This is called geo-tagging – or the act of adding GPS information to digital images you’ve taken. This allows you to then easily map them out visually as to exactly where every picture was taken. You may remember I did this with lots of photos, on some of my Africa trips, but also with the Boston Marathon.
The challenge is that the vast majority of today’s cameras don’t have built-in GPS technology to do this for you. So that’s where the Travel Logger comes in to make things easy. It automatically corresponds the GPS ‘track’ that it stores with the pictures in your camera – and it does this by matching time stamps.
Devices itself:
So let’s talk about the pieces first:
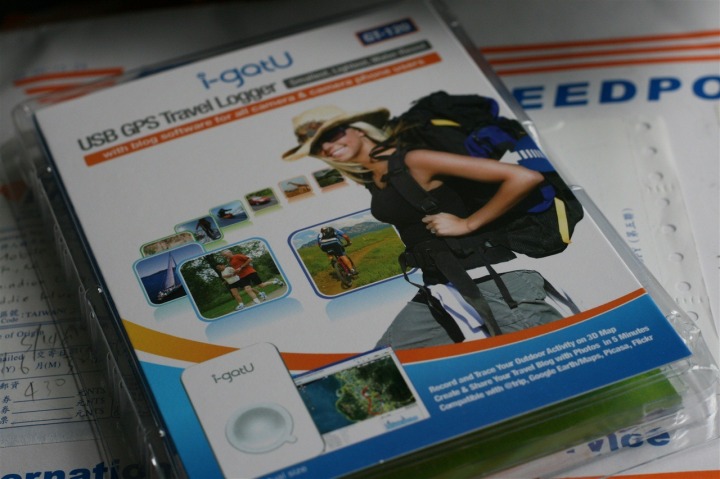
First up is the little GPS logger itself, which is smaller than a tic-tac box:
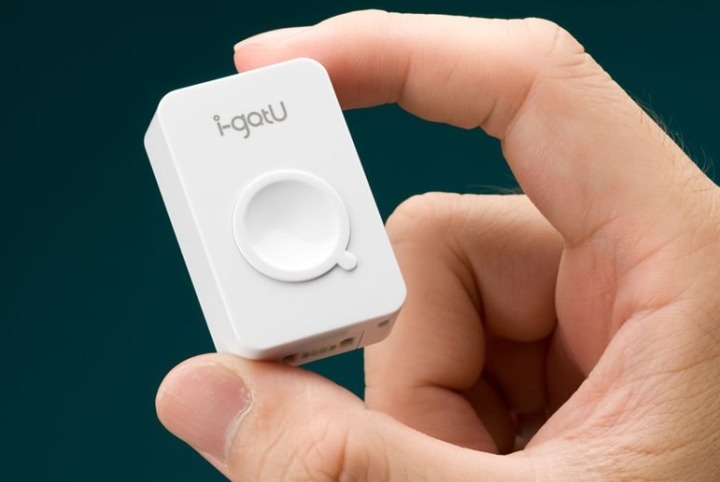 (You may be wondering why I’d use a stock photo of the device instead of my own photo…well, read through the review for the sorta funny story about that…)
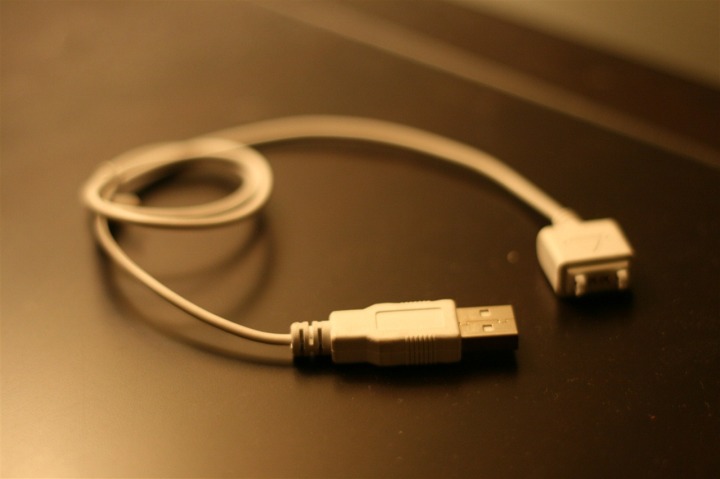
Then to connect it to your computer you use a USB cable that’s provided in the kit, again, fairly small:
Now, they also have a Bluetooth version that you can use to do it all wirelessly, but I find that sometimes keeping things simple is best. And USB is about as simple as it gets.
In the field:
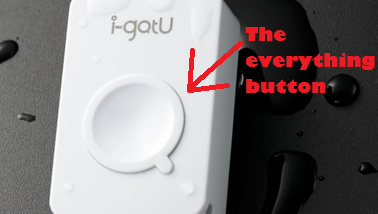
With that simplistic introduction, let’s get onto the action and start using it. To turn it on you simply press and hold the main button for a brief moment, which turns it on and starts logging. It’s pretty much that easy.
There aren’t any ‘options’ here to turn on or off.
At this point, you go and take a gazillion pictures using any digital camera you’d like. The only requirement is that your camera have a functioning date/time on it. It doesn’t actually even have to be the correct date/time as I found out. Just has to be some date/time that can then be adjusted later on on the computer. Once you’re done on your trip simply press the ‘Everything’ button again.
Back in the lab:
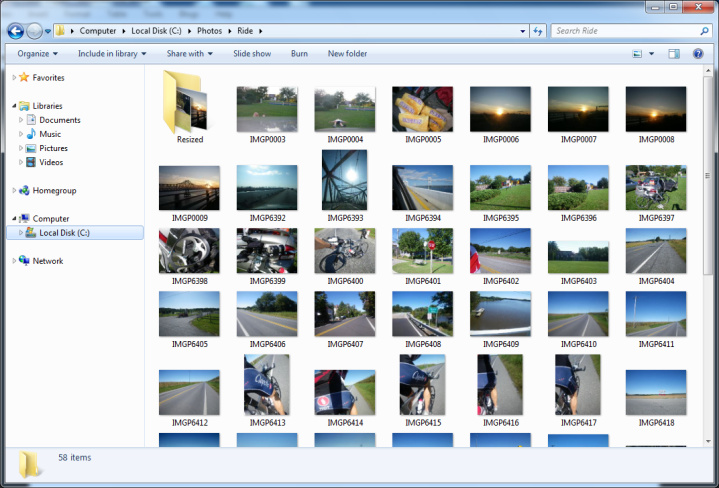
So you’ve gone out and taken a gazillion photos, sorta like this:
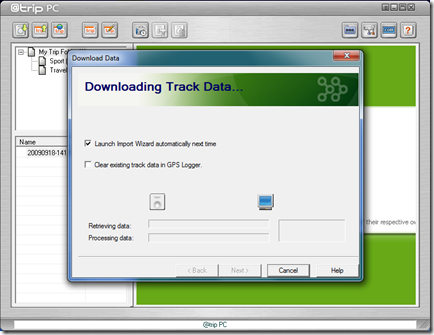
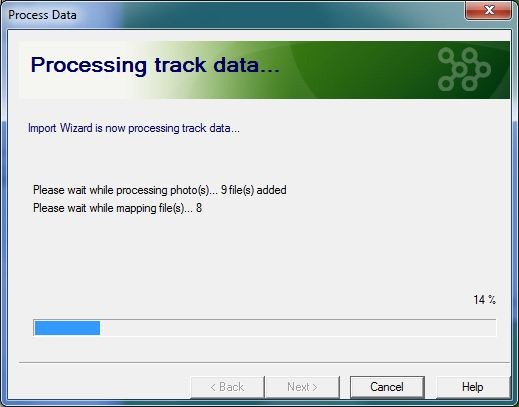
Then you connect up the GPS logger using the USB cable to the computer and start the software that’s included – @Trip. The next step is to simply launch the import wizard, which will automatically grab the files from the little Travel Logger and copy them to your computer.
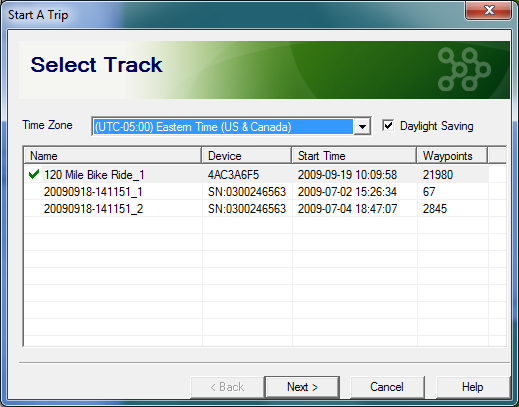
Now we get to pick which GPS track is the correct trip, and then get to name our trip with a name meaningful to us.
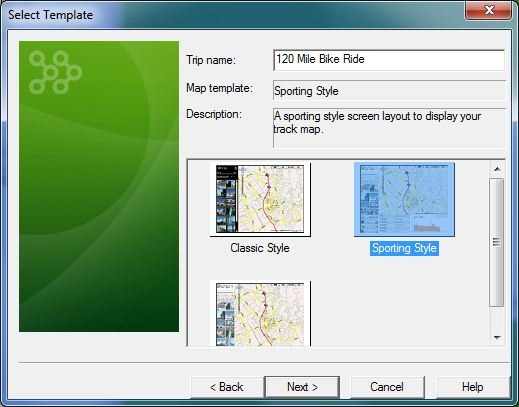
After that we’ll select a style for our display – because this was from a bike ride, I chose the most sporting style available…which…happened to be called ‘Sporting’:
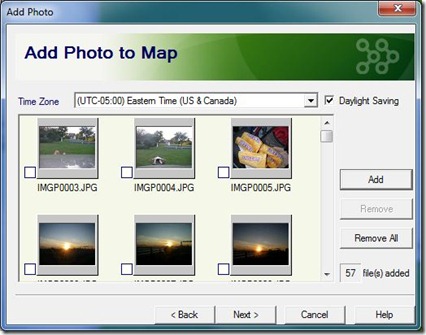
Next up is probably the most important part – selecting all the photos we want to copy over. It takes only a moment to inventory them all.
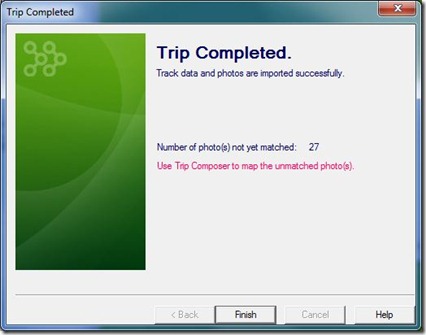
And then, it’s time to for the @Trip software to display some magic:
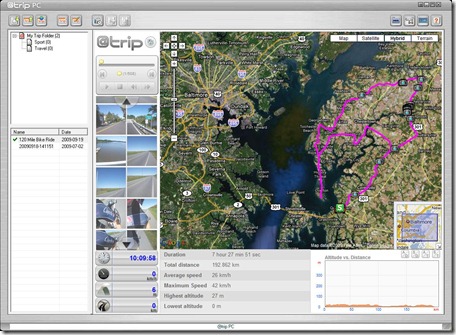
The software has now automatically overlaid all the photos directly onto my GPS track.
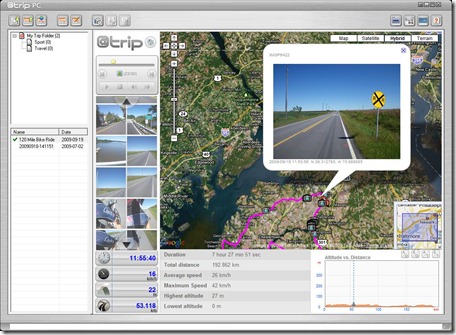
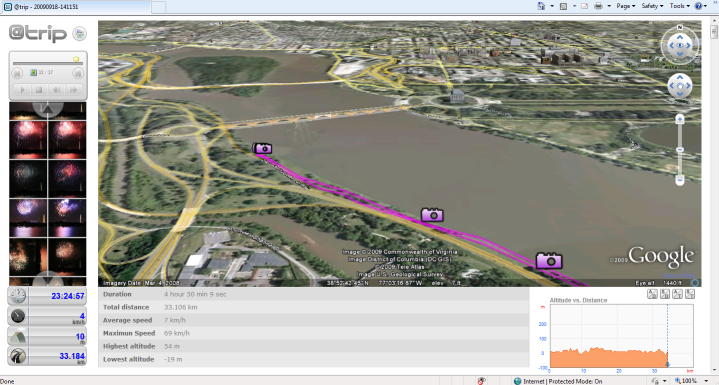
Further, it offers quite a bit of information along the bottom – like speeds, elevation, duration, distance, etc… Though, I did see some minor issues where the correct units (imperial or metric) weren’t quite sticking, I’m sure that’s a minor issue though they’ll work out. Also note that it doesn’t account for stopped time in the averages, for example, below I stopped to fix my broken pedal for quite a while – which extended the actual time duration and averages.
It is cool how it’ll show you exactly how fast you were going when you took a given picture, along with the elevation. Thus proving that I really don’t stop to take pictures on my ride. :)
Now, one challenge you might have is that your camera’s date is off – or that there was no date at all. For example, about half-way through my ride, my camera decided it’s battery life was up. But – I still had my cell camera. So how do I integrate those photos too? Well, I just added them to the track and then I can use the little slider to adjust either the location on the map to match, or the known time.
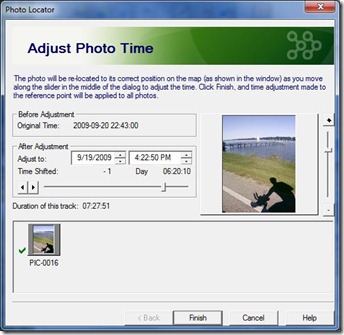
And you can batch a bunch of photos together. For example, I have a number of different cameras I use (little Optio W60, DSLR Digital Rebel, older point and shoot, cell phone, etc…) – and all of them have slightly different timestamps. This allows me to quickly adjust a large batch of photos.
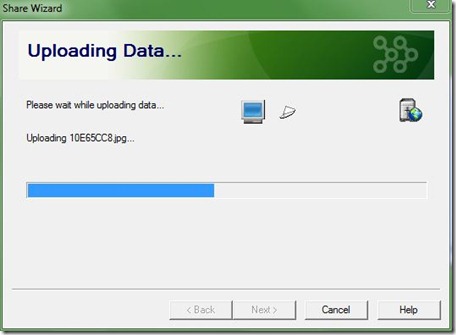
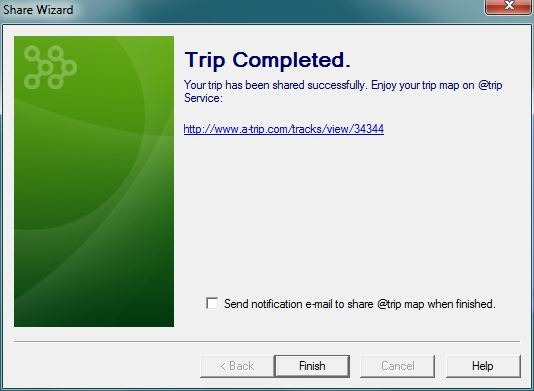
Finally, we can share our trip on the web. This allows me to share a trip…with you (or your other friends).
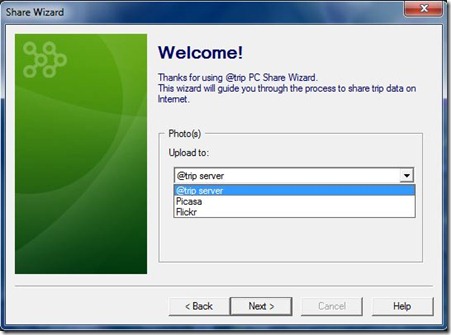
You can choose whether to share it using their service, or Picasa or Flickr, all of which support GeoTagging. Let’s go ahead and use the service that came with it though, it has more features.
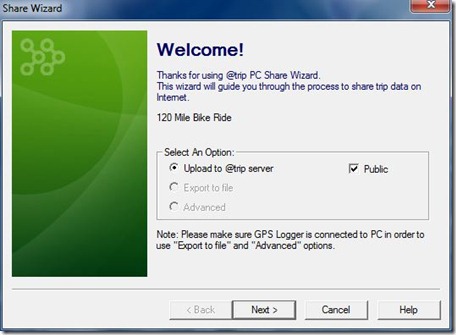
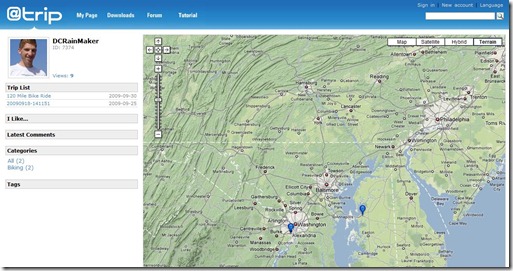
From there you can explore the trip and see all sorts of fun stuff, just like in the desktop version:
For example, you can enable 3D view and utilizing Google Earth display the pictures that way. Here’s one I did back on the 4th of July using it:
And if you want – here’s my trip I did – you can explore it yourself by clicking here. I made public both one I did earlier this summer on July 4th, and one from just two weekends ago.
One final cool feature that’s really useful to me…
Say…for example, that you go on a 120 mile ride. And as part of that ride you’re using a device that’s completely hands-off – just one button and all, so you start the ride, set it, and forget it. And say along that ride you manage to lose said little device that you’re reviewing (just hypothetical of course). But, say you don’t realize that until you get back to your car (some 120 miles later) and can’t find it. Well, if you were using another GPS based device to record your track – all is not lost. the @Trip software can actually import from ANY GPS track, which rocks! Especially in instances where said reviewer can’t figure out which cornfield the device might be in. Just saying…
(And thus, explaining why I used a stock shot early on. Normally when I write reviews I take photos before I ever get stuff out of the house – the Girl always laughs at my obsessive photo taking. But in this case, the device came about an hour before I headed on a trip, so I took it with me without bothering to take the photos pre-trip earlier this summer, and thus by time I got around to needing to take the photos a few trips later…said device is resting somewhere in Maryland).
Summary:
In summary this is a fun little device if you want to cheaply geo-tag photos. While you can use a number of different sport GPS devices (such as the Garmin’s), this device is bar far the quickest and easiest way I’ve done geotagging yet (and I’ve geotagged tens of thousands of photos from trips).
Pro’s:
– Hardware Simple to use
– Software is flexible, and simple to use
– Allows you to create standard GPX files, also import GPX files
– Relatively cheap (on Amazon for $69)
Con’s:
– Lights on display are really hard to see/read in bright light
– Easily losable in bike jersey pocket/hiking, needs some sort of string to attach
– While software is simple and efficient, it’s a bit clunky in some areas
As always, if you have any questions, I’d be happy to try and answer them. Feel free to leave questions in the comments field below.
Thanks for reading!
FOUND THIS POST USEFUL? SUPPORT THE SITE!
Hopefully, you found this post useful. The website is really a labor of love, so please consider becoming a DC RAINMAKER Supporter. This gets you an ad-free experience, and access to our (mostly) bi-monthly behind-the-scenes video series of “Shed Talkin’”.
Support DCRainMaker - Shop on Amazon
Otherwise, perhaps consider using the below link if shopping on Amazon. As an Amazon Associate, I earn from qualifying purchases. It doesn’t cost you anything extra, but your purchases help support this website a lot. It could simply be buying toilet paper, or this pizza oven we use and love.




Neat! I wish I had something like that for my roadtrip to Seattle! (Starts friday, so too late to buy anything.)
so hypothetically, what happens when the reviewer looses the item that they are reviewing?
What will they think of next? Sounds like another great gadget addition to your growing collection.
Very cool! I think I have so many gadgets now I can’t imagine how many I’ll have in a few years.
You are better skilled than I am at taking photos while on the bike. I have tried many times and they come out as a huge blur. I don’t think that I could handle another piece of technology to deal with.
Yes, I am that old and slow…
that is neat. I’m thinking of purchasing Canon PowerShot D10 Digital camera – compact – 12.1 Megapixel – 3 x optical zoom for my open water and skiing adventures. thank for the write up.btw is hammer nutrition you final choice or are you shopping around.
Thanks RFBR:
For nutrition right now I’m fully EFS Gel (from First Nutrition: link to firstendurance.com)
That said, over the past year I’ve been back and forth between Infinit and EFS products, using powdered stuff in most cases and making various blends from it.
The only Hammer stuff I currently have is leftover powder from previous years that I try and ‘get rid of’ in shorter (sub-1 hour) training sessions. Nothing wrong with it, just EFS is working better for me…and it takes like cupcake batter.
Oh I like this, takes a really tedious task and makes it totally simple, what’s the battery life proving to be?
Hello,
Thank you for this review. I was thinking to buy i-gotU GT-800 (the yellow one) as I need to have a logging of my hikes (gps and altimeter), However these I-GotU products are only PC compatible and I have a mac. I have few questions regrading this product:
-is it possible to mount the device as and external usb storage to the MAC. then I can get the files and convert them to GPX and KML
– is i possible to mount it to a pc and export the recorded data to GPX and also get the data related to the altimeter and process them on my mac (geotag the photo with Aperture and draw the track route)
-Do you recommend any other device for recoding GPS for geotagging purpose and also for altitude recording and which could be mounted to a mac.
Thanks a lot.
Kimo
i-gotU GT-820 GPS Bike & Travel Computer
dear dc rainmaker: have you seen this new GPS watch from these people? I don’t see that you reviewed but it seems available or about $480 to $110 and seems to do everything that more expensive watches do…..Arthur
I meant to say $80 to $110